


First Step is to ensure that we meet the pre-requisite to start the Upgrade process and this is strictly to be followed.
a) Root/Administrator Credential
b) CHeck SSH Enabled
c ) SSO credential
d) HTTP Port 443
e) Discuss the Deployement size according to your VMware infra (Small,Medium,Large and Xtra Large)
f) Network Details same as existing VCSA is having (Temporary IP adress,Subnet mask,default Gateway,DNS etc)
g) Make sure you have around 2TB of space in Storade datastore ,Required to have this space during Upgradation.
h) Download the ISO Image from Vmware portal,Make sure the Build number before upgrading.
i) Take a Snapshot of your Existing VMware VCSA machine
j) Check the hardware compatiblity for All the hardware (ESXi,Backup STorge,Network Device etc)
Right Click on VCSA Machine ==> Go To Snapshot ==> Take Snapshot

Give the description i.e Date and Time stamp nd the Change Number or Task Number

Now we have to go where we have downloaded our ISO Image Right Click on ISO Image ==> Click on Mount You will get New Drive with all the files Go to the "Installer" exe setup and Run As Administrator
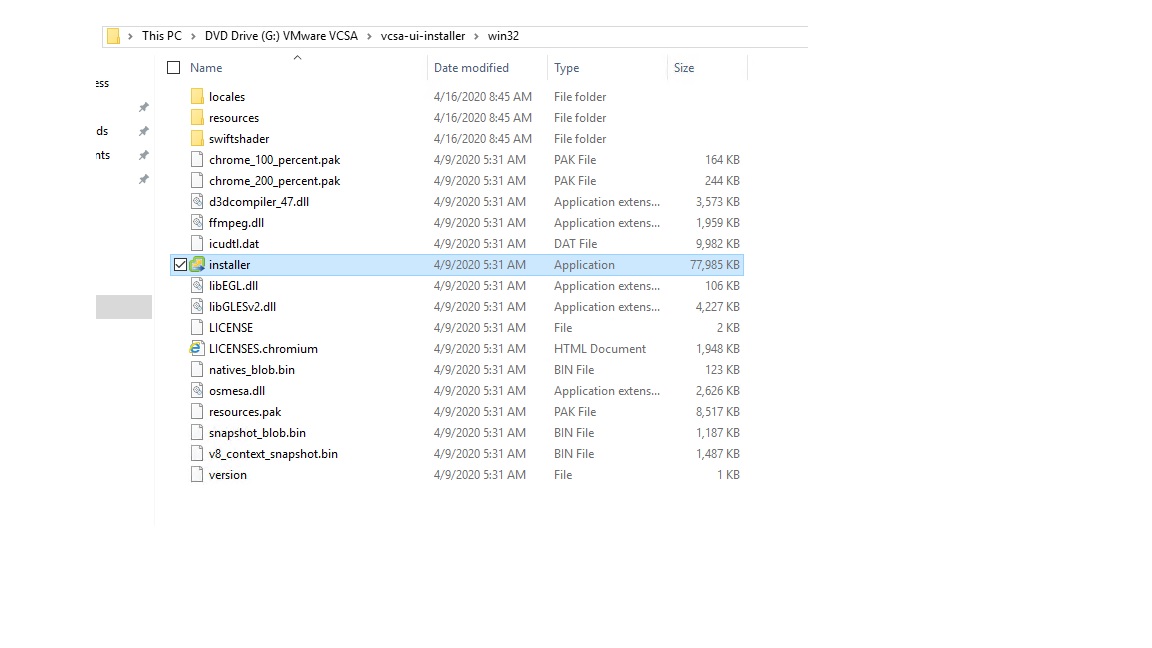
Go to the "Installer" exe setup and Run As Administrator

When we launch the the Installer.exe,Make sure we initiated the Step 1 of VCSA Upgrade. Choose Option Upgrade ,marked with Yellow Marker

Welcome to VCSA UPgradation Step 1 ==> Deploy Appliance ==> Click on Next

Accept the End User License Agreement

Put your Existing Credential or we can see Connect to Source appliance ==> Click on Connect to Source Highlighted in Blue Colour

==> Put Your Appliance FQDN ==> SSO Credential ==> Root Credential ==> It will generate Certificate with Warning

Please Accept

Now you will need to mention Appliance deployement target ==> MAke sure everything will be the same credential and Server name(We are doing this because we are upgrading the VCSA) It will also Generate the certificate ==> Accept

Select the Actual folder where is your VCSA VM machine location

Select the Compute Resource (Where is your existing VCSA VM location)

Provide the Same VM Name and credential as e have it for Existing VCSA machine

Automatically it will pick up the Deployement size according to the Existing setup but still if you want to upgrade the size you can do it by choosing drop down option. Make sure that there is no downgrade option.For ex:- If you want to make it from Large to Medium,it will not allow you to do that.

Select the Datastore where we want us to deploy the VCSA upgrade

We got the Error while doing the upgrade as we do not have Sufficient space i.e required to upgrade the VCSA in our datastore(Required 1905GB)

We have make some space by moving some of VM Machines,which is not best practice.Please do not do this and take pre-requisite steps to avoid all the errors.

Most important step :- To configure the Network Setting.Plesae select the vLan which is same as existing environmet.Ititself stating it is just to communicate with the existing VCSA machine thats why we called Temproary Netwrok settings.

Now We have all the summary ==> Please check properly to avoid all the errors

Now We have all the summary ==> Please check properly to avoid all the errors

Stage one completed

Stage 2:- NOw after finishing the Step 1 it will automatically Pop out Stage 2 window in your screen

You will get erroe and alerts if During the Pre-upgrade Result.Please troubleshoot according to Error,please Close the pop up window for alerts.That we need to ignore it

Now we are moving data to our upgrade Appliance ,we need to connect to source vCentre Server.Provide all the required credential for the Upgrade

It will do final pre check again

We are in the final step to upgrade the data which required sufficient space to transfer the data from old appliance to new appliance.We got the error stating The Default Partion is 4GB and our data size is more than 4GB.We will see in next slide how to check and give the Directory path with sufficient space

Login to your VCSA old machine with root Credenial ==> put the command ==> df-h ==> check the Available spave according to your data requirement ==> note down the path
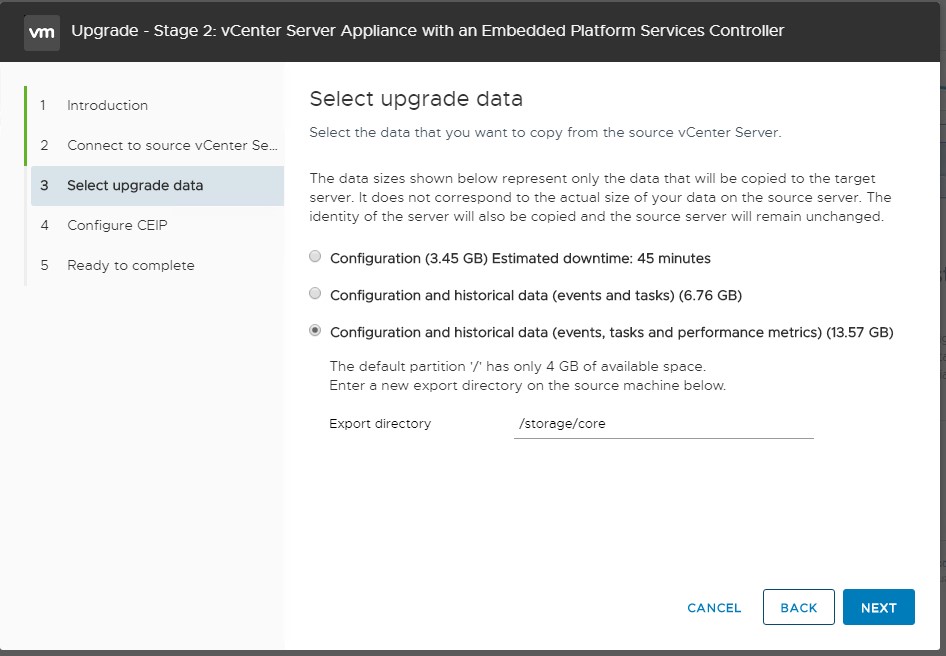
Please Paste the Path where we have sufficient available space on Directory

Please Accept the Configure CEIP option and click Next
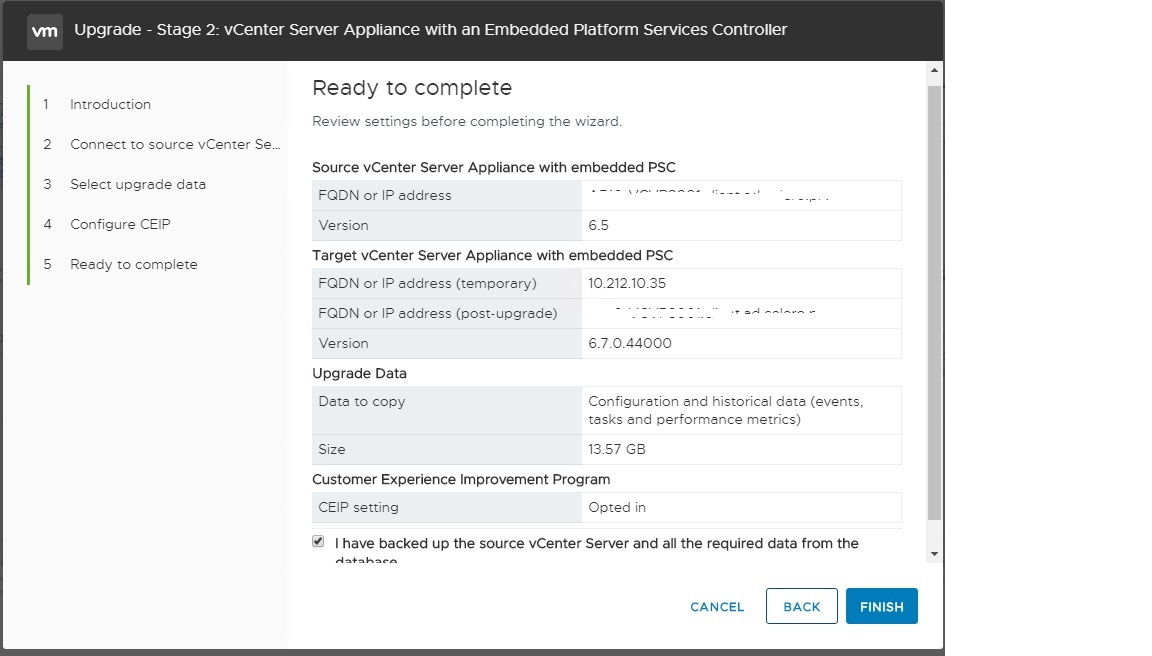
Verify all the details and click Next
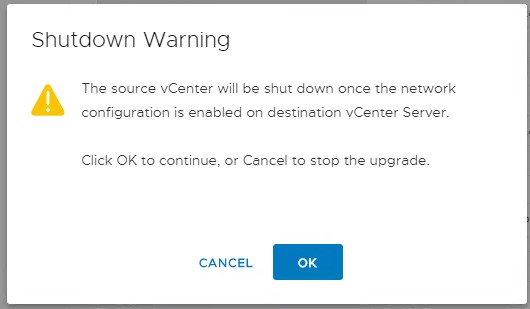
Please click OK to continue,it will shutdown the Ols VCSA machine
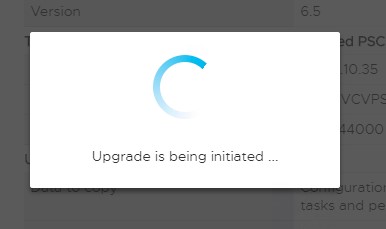
Upgrade has been initiated with 6.7 Versions
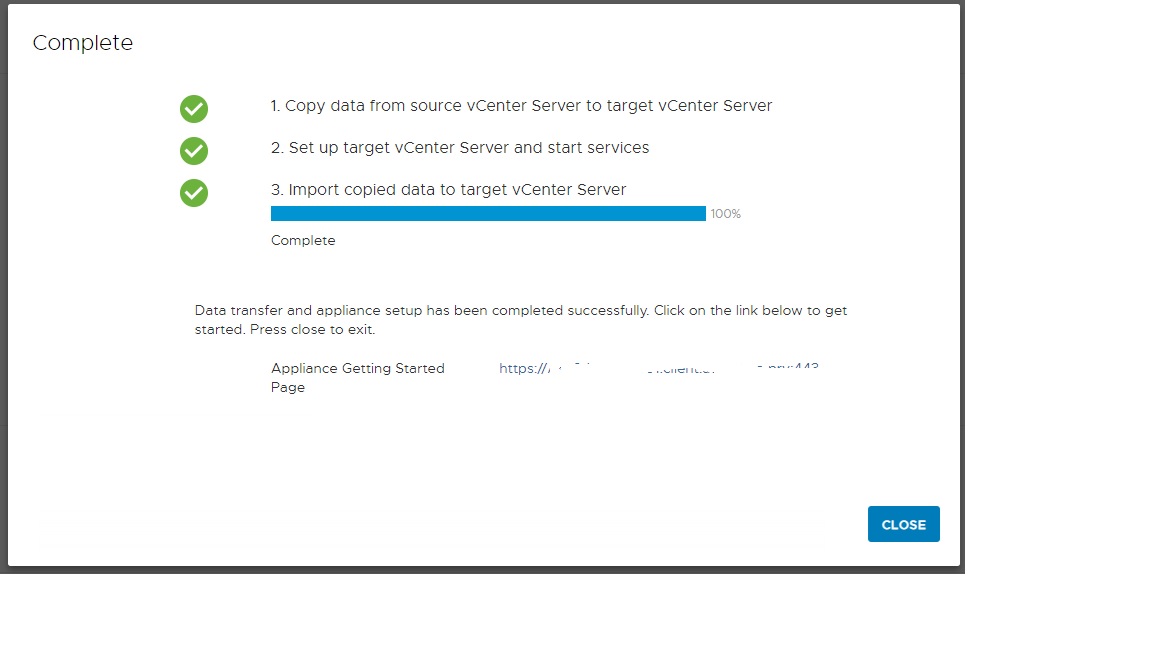
Stage 2 Completed with New Verion i.e 6.7 Version with HTML5 Login

