By Pranay Jha
| Jul 15, 2016 | In
Tutorials
| Update: Jul 16, 2016
| Total Views [ 29551 ]
Step by Step Procedure to Install and Use vSphere Client 6.0
vSphere clients enable you to connect and manage ESXi Hosts and vCenter Server. When you install ESXi Host or vCenter Server, you required vSphere Client and Web Client which provide you interface to manage this. Install vSphere Client in your local machine which exist in same network, and connect your Hosts and vCenter using this client. You have different ways to install it.
Option-1 # Install it through vCenter Server Installation Media, or
Option-2 # Download vSphere Client *.exe and Install.
Install it through vCenter Server Installation Media:-
- - Mount vCenter Server Installation ISO.
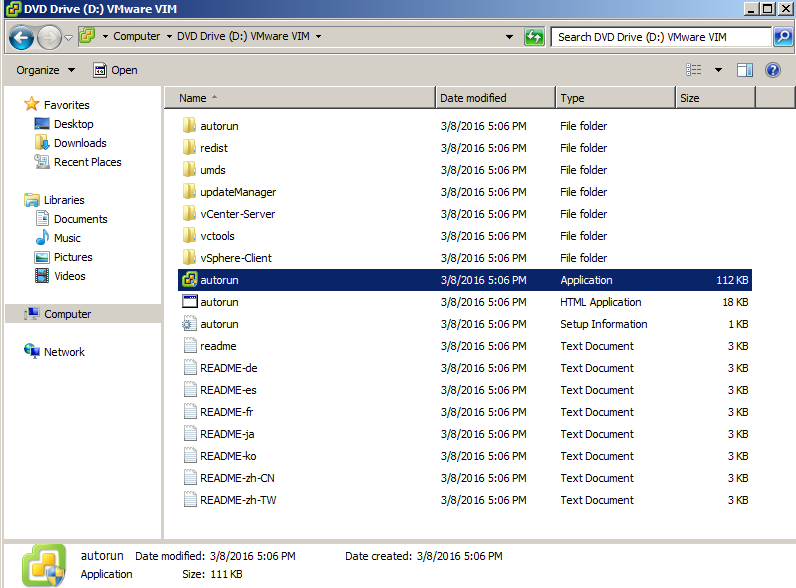
- - Open Autorun.exe
- - Click on vSphere Client and follow below mentioned Installation Step Guide.
Install it through Downloaded vSphere Client *.exe Package:-
- - Download *.exe from https://kb.vmware.com/kb/2089791
- - Double click on VMware-viclient-all-6.0.0-2502222.exe
- - Follow below mentioned Installation Step Guide to install.
Installation Step Guide:-
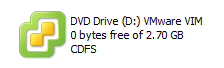
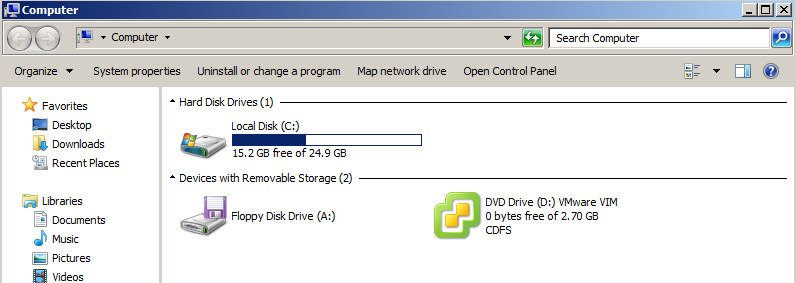
- - Right Click and Open mounted ISO drive for Virtual Center Installation Media. In below example, D drive is being used for Installation Media disk.
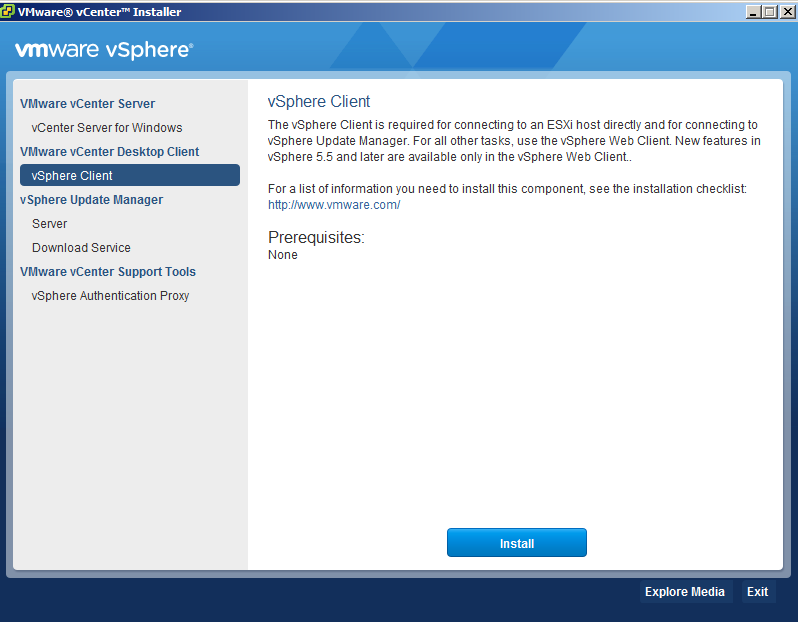
- - Vmware vCenter Installer window will appear on screen. Select vSphere Client, and Click on Install.
- - Extraction of installation package is in Progress.

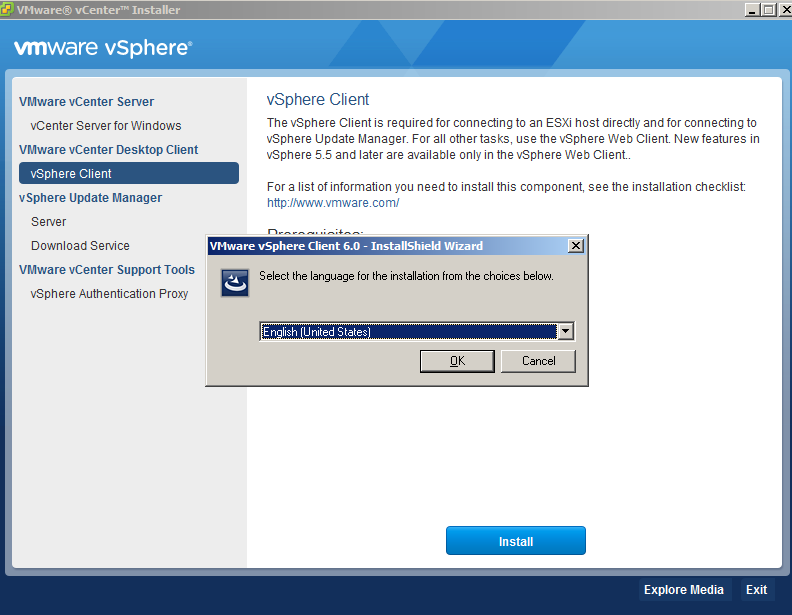
- - Select Language for Installation and Click OK.
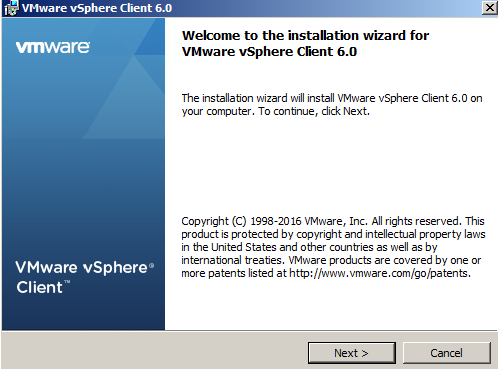
- - Welcome screen will appear. Click Next to proceed.
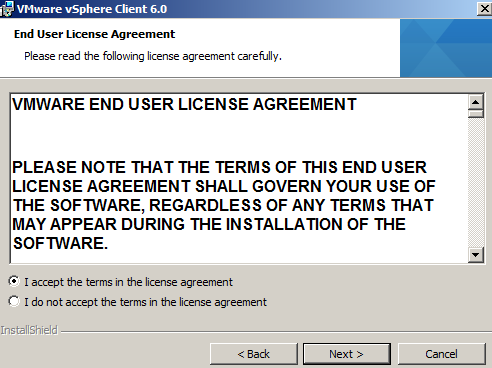
- - Accept EULA and Click Next.
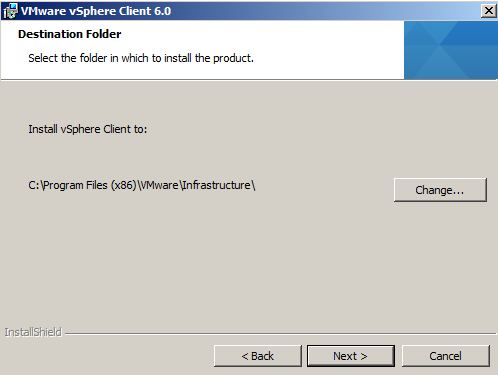
- - Choose Installation Directory and Click Next.
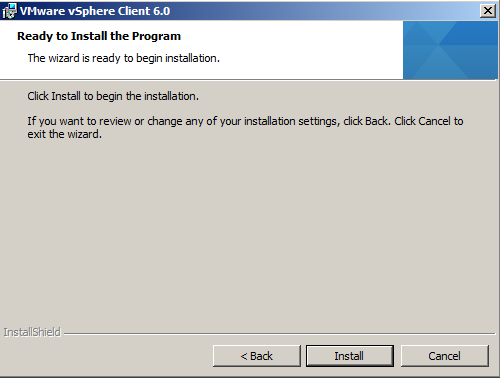
- - Now vSphere Client is ready to Install. Click Next to proceed.
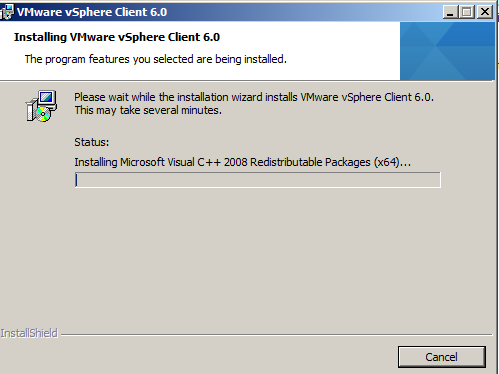
- - Installation is in Progress. Click Next.
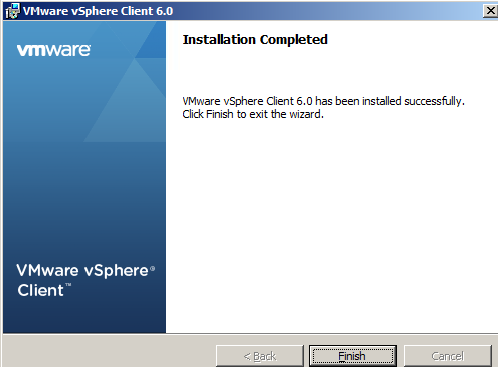
- - Installation has been completed. Click Finish.
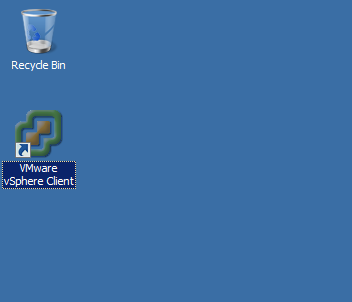
- - Once Installation has been completed, you will see VMware vSphere Client icon on your desktop as shown below. Double Click on icon to launch it.
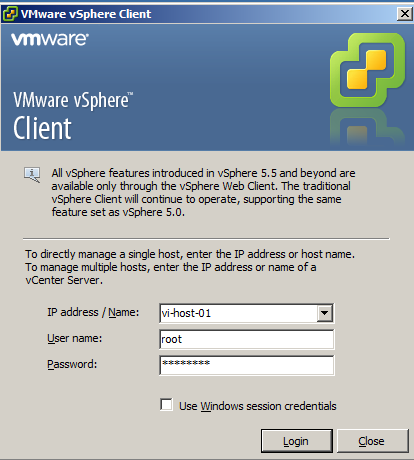
- - VMware vSphere Client window is ready to access. Enter Host Name or vCenter Name to use and manage this.
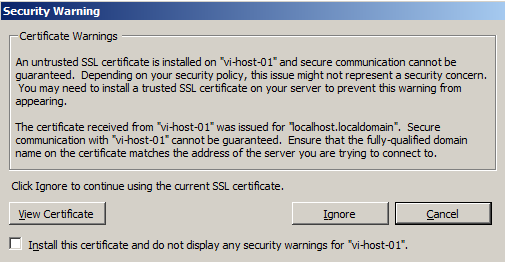
- - Security warning windows will appear on screen. Click on Ignore and proceed.
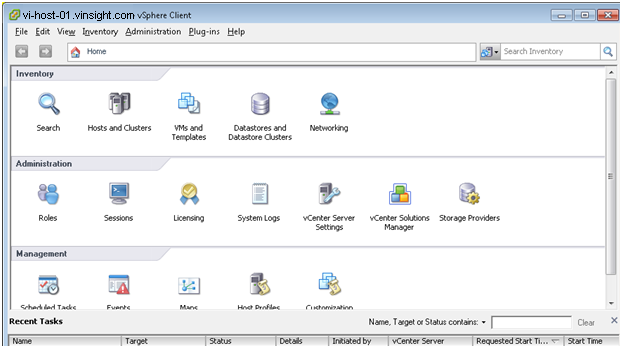
- - Now you are able to see Home Page of Virtual Center/ESXi Host. There are different sections i;e Inventory, Administration, and Management. You can now manage your Virtual Center or Host through this console.
-----------------------------------------------
Thanks for vising here and giving your time to read out this article. Please share if you liked this post.
Join my Facebook Group https://www.facebook.com/groups/VMwareInsight/
Like my Facebook Page https://www.facebook.com/VMwareInsight/
Thank you for visiting my profile. I am Pranay Jha, bring along a total of 11+ years of extensive experience with me in Information Technology sector for organizations from small business to large enterprises, wherein my current assignment I am associated with IBM as a Technical Solution Architect for Virtualization platform. I am vExpert x 3 (16/17/18), VCIX-DCV, VCAP5/6-DCD, VCAP5-DCA, VCP7-CMA, VCP5/6-DCV, VCA-DCV, VCA-Cloud, VSP, VCE-CIA, MCITP, MCSE, MCSA(Messaging). I am also an Independent blogger and founder of http://vmwareinsight.com and https://cloudpathshala.com. I can be reached via email at pranay1988jha@gmail.com or Direct Message via Contact Us form.