By Pranay Jha
| Feb 1, 2018 | In
Tutorials
| Total Views [ 5898 ]
Part 3 - Installation of vRealize Automation
In Last section we saw how to deploy vRealize Automation Appliance. Here we go with the Installation part.
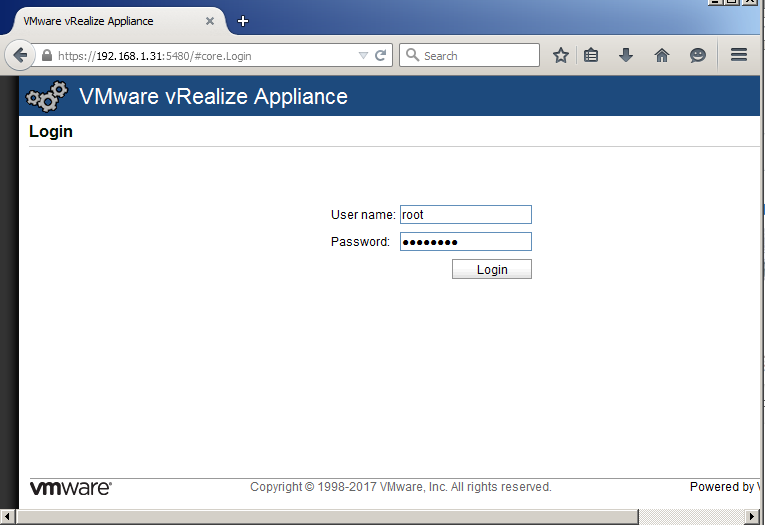
- Open VMware vRealize Appliance Console using https://vRA_IP_Address:5480.
- Login using root credential which you defined during the Appliance Deployment.
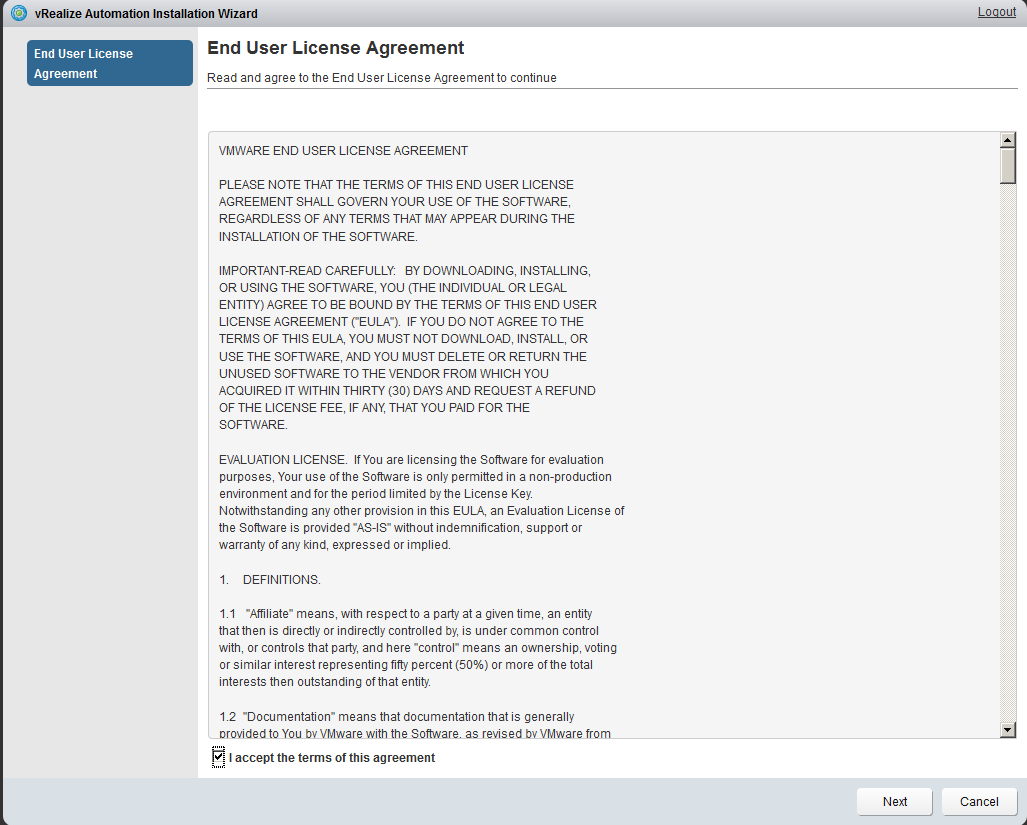
- Accept EULA and Click Next.
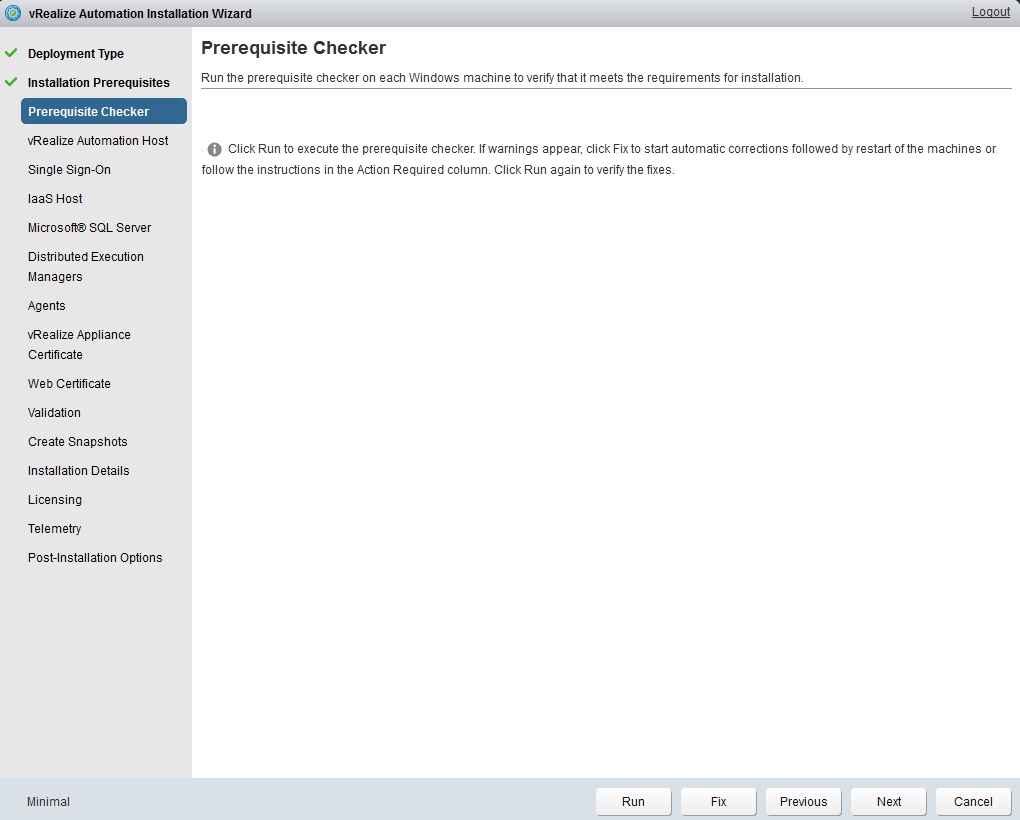
- Select Deployment Type. Here we are going with Minimal Deployment Option. Click Next.

body

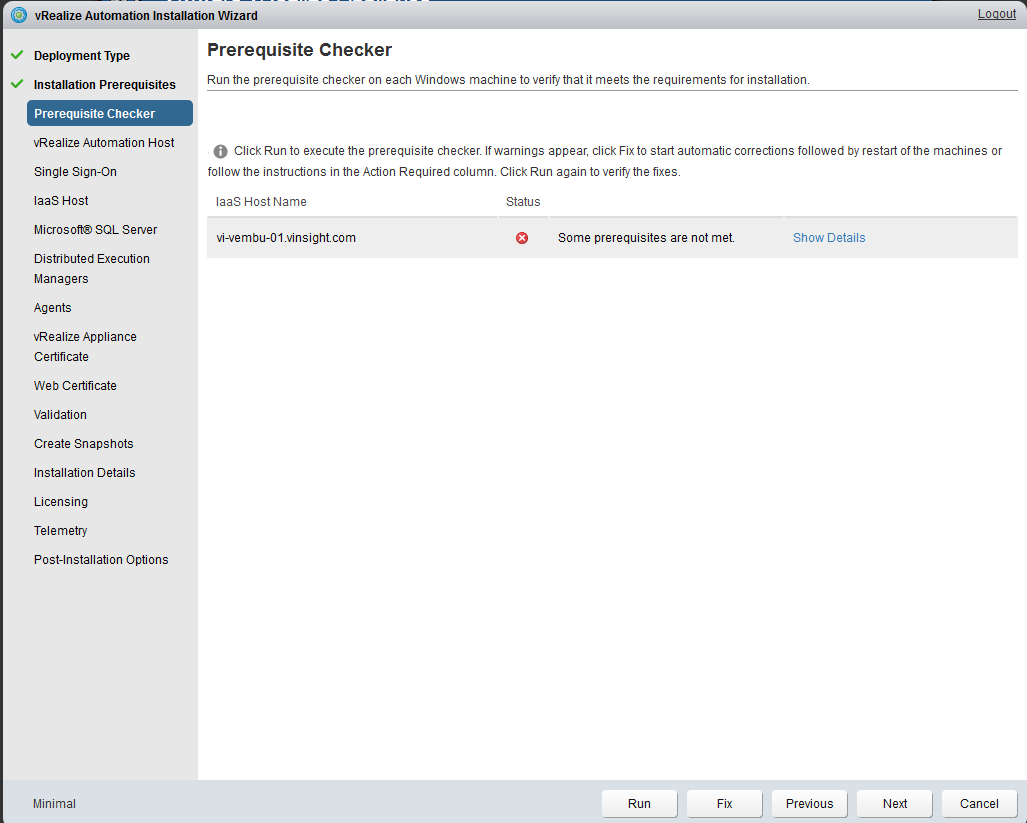
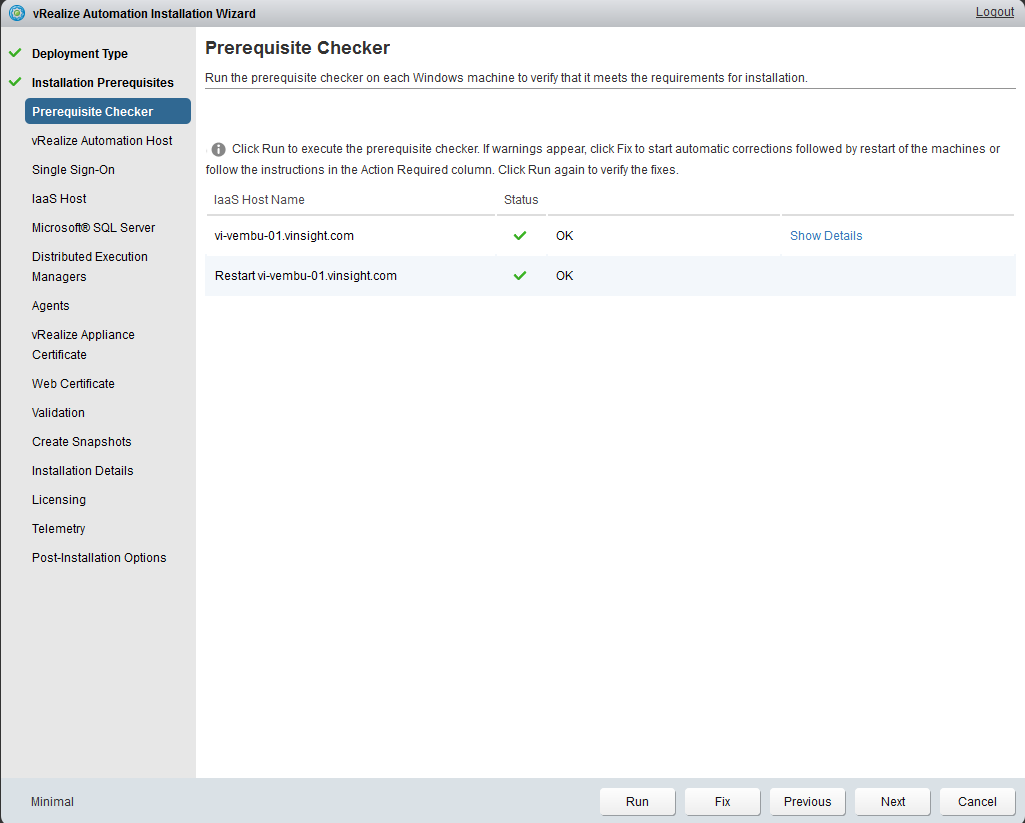
- Execute Prerequisite Checker and Click Next.
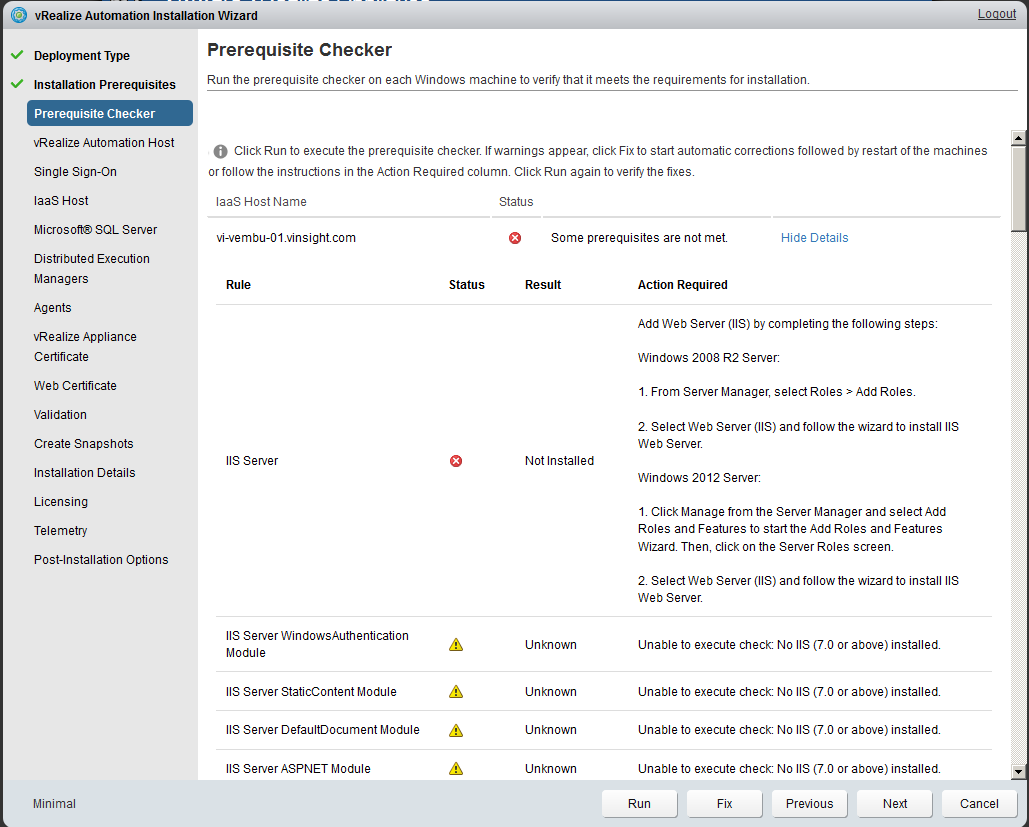
- During Prerequisite Checker, you may notice some error. You can click on Show Details and diagnose the issue.
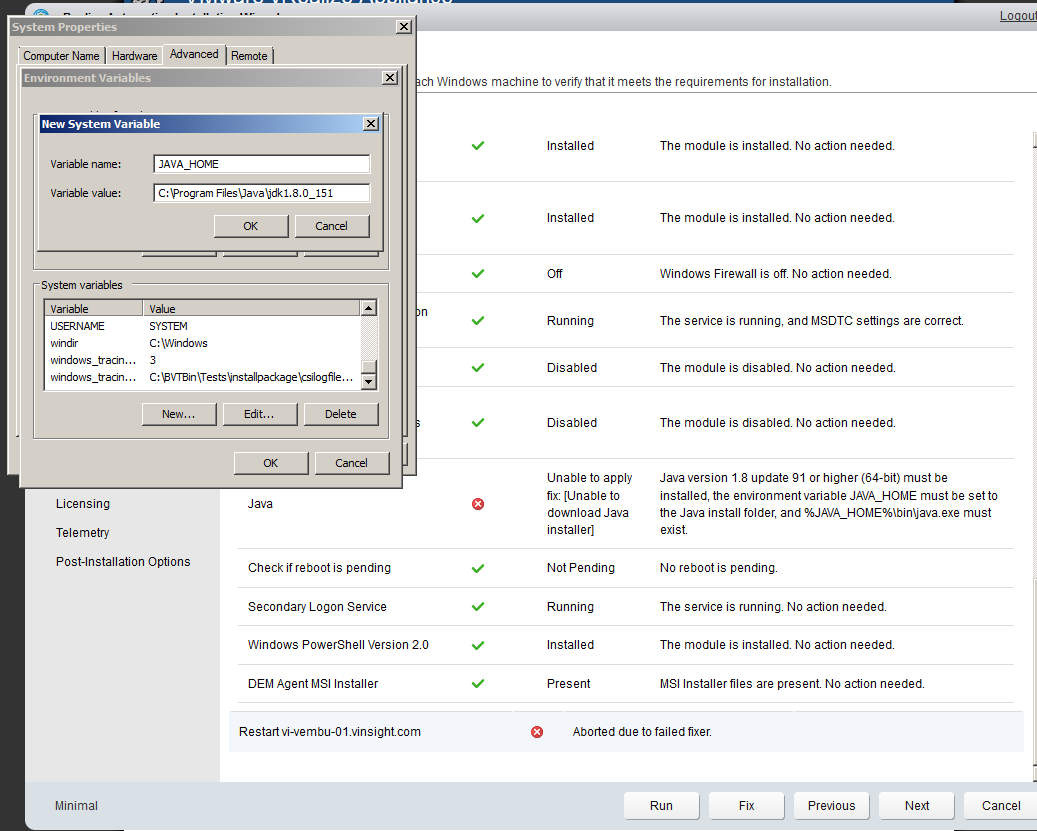
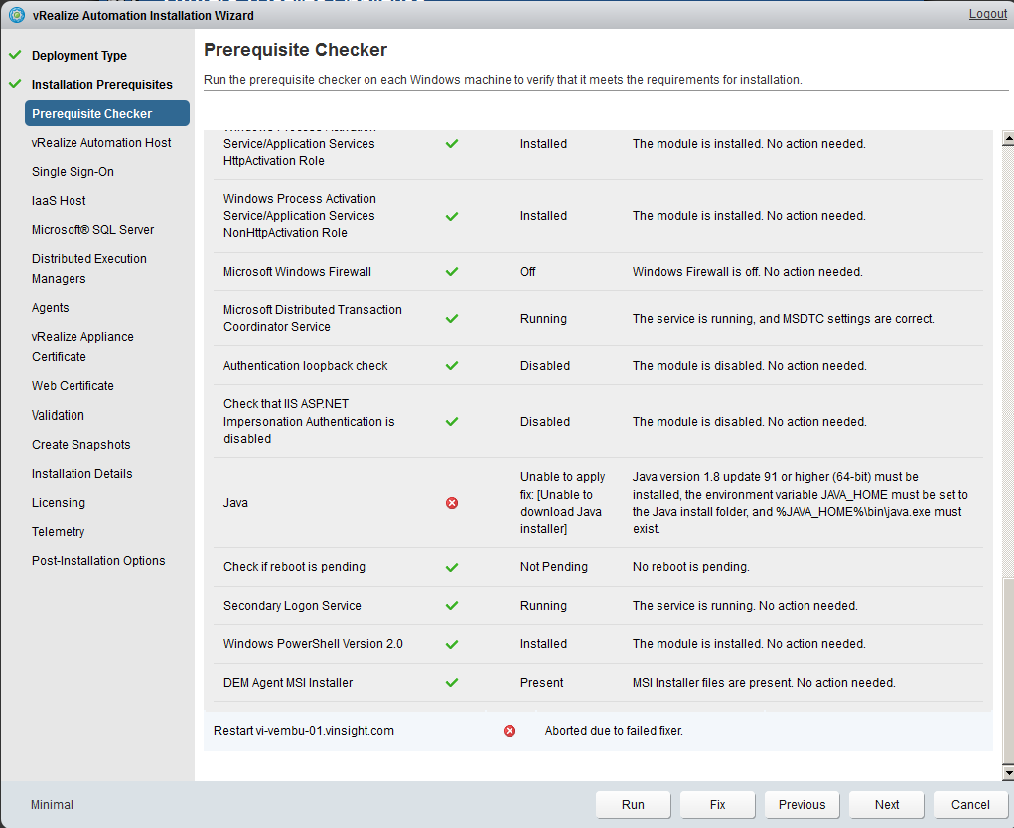
- Prerequisite Checker Results are showing the Java Variable is not defined.
- Here in our scenario, Java variable was not defined, so we defined the same as mentioned below. You may also click on Fix to auto diagnose and resolve the issue. Click Next.
body
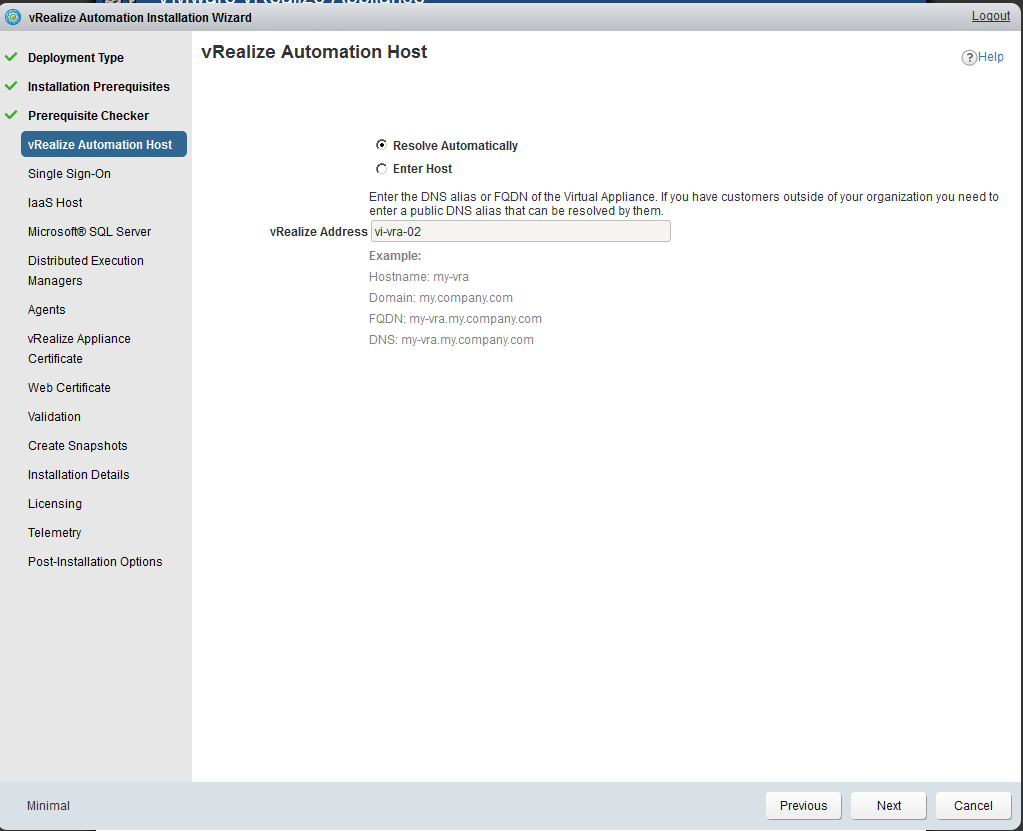
- Click on Resolve Automatically and Click Next.
- Enter IaaS Host details and Click Next.
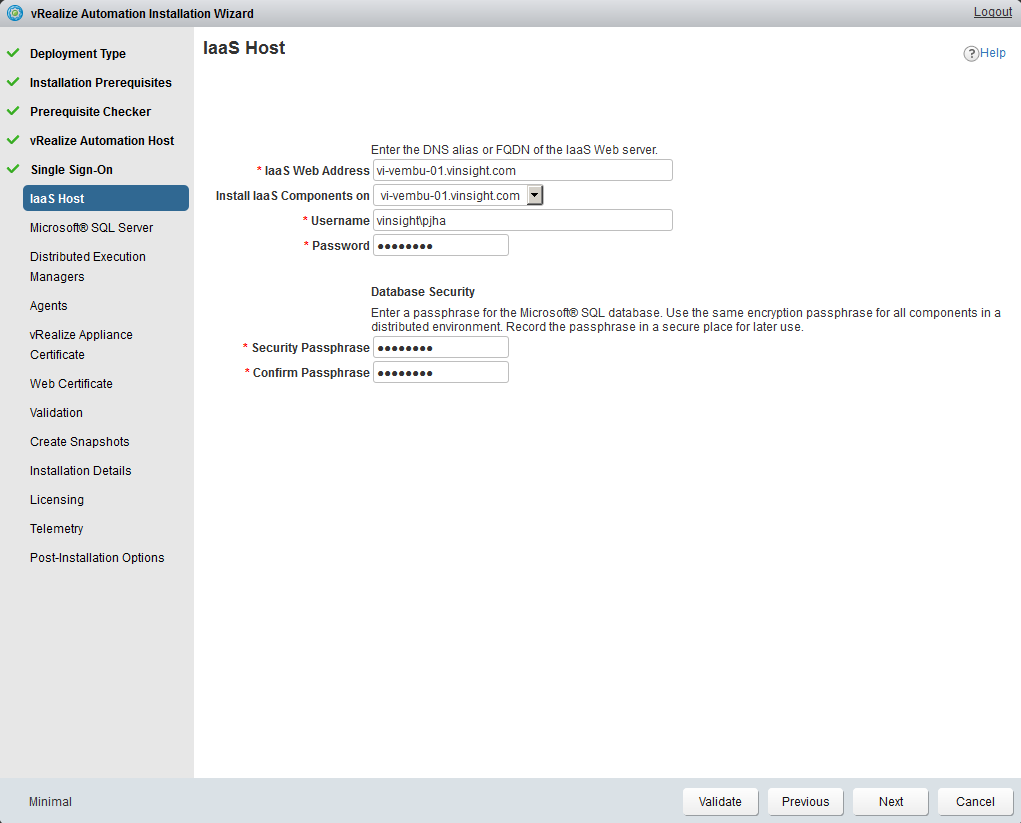
- Define MS SQL Server and Click Next. Here I used same server as IaaS Host and SQL Server.

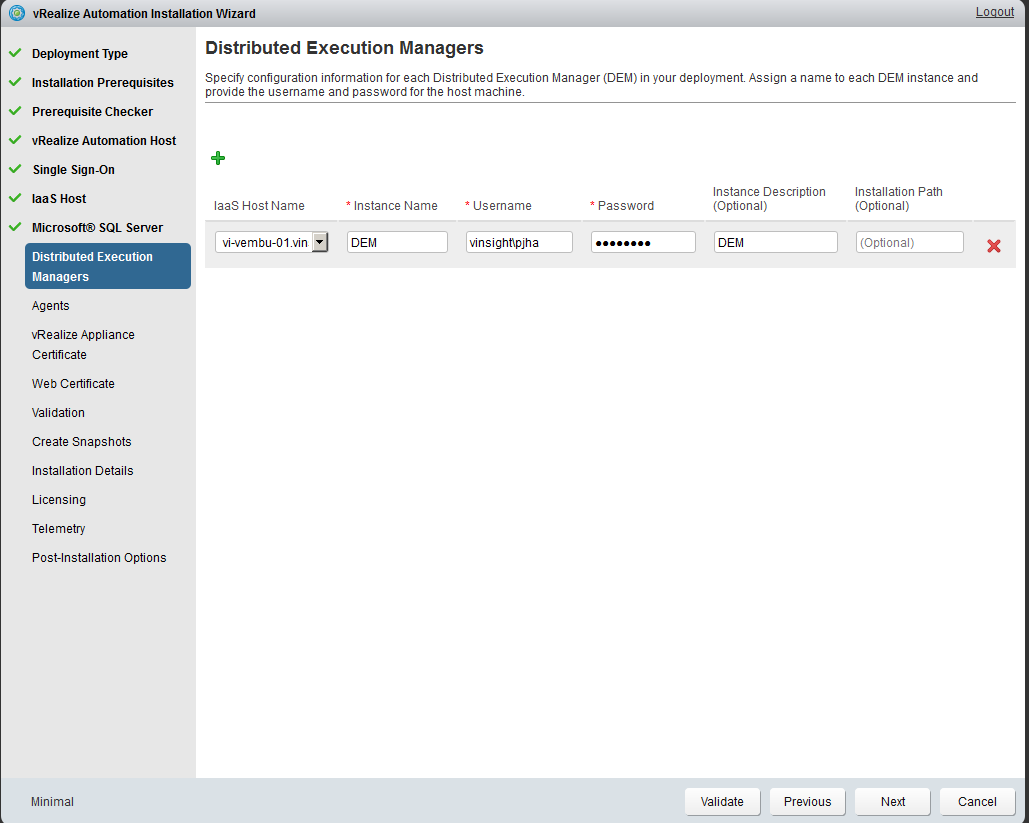
- Define DEM and provide IaaS host name and Click Next.
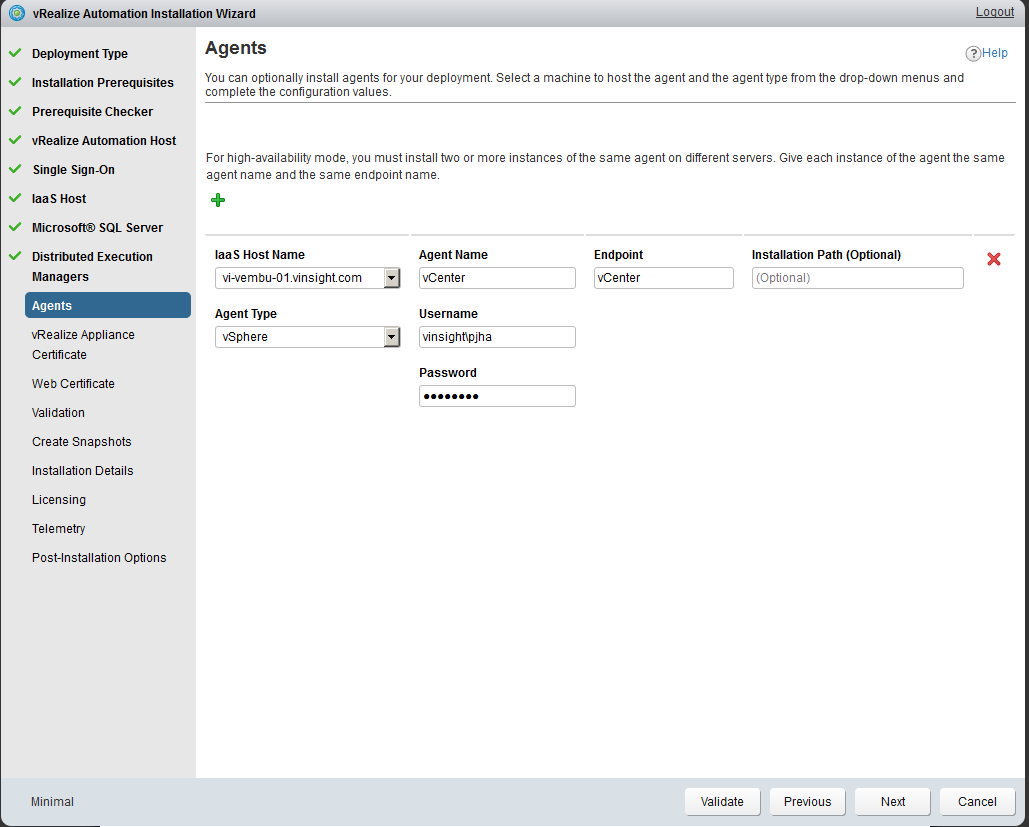
- Select a machine to host the agent and the agent type from the drop down menu. Click Next.
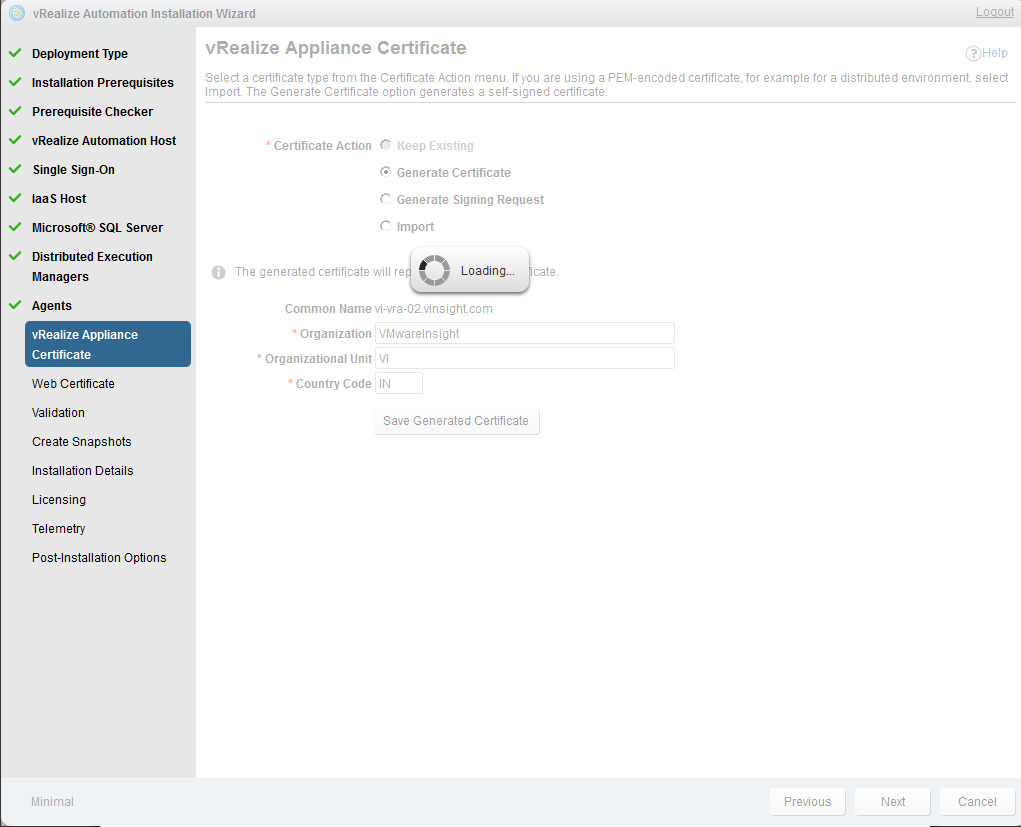
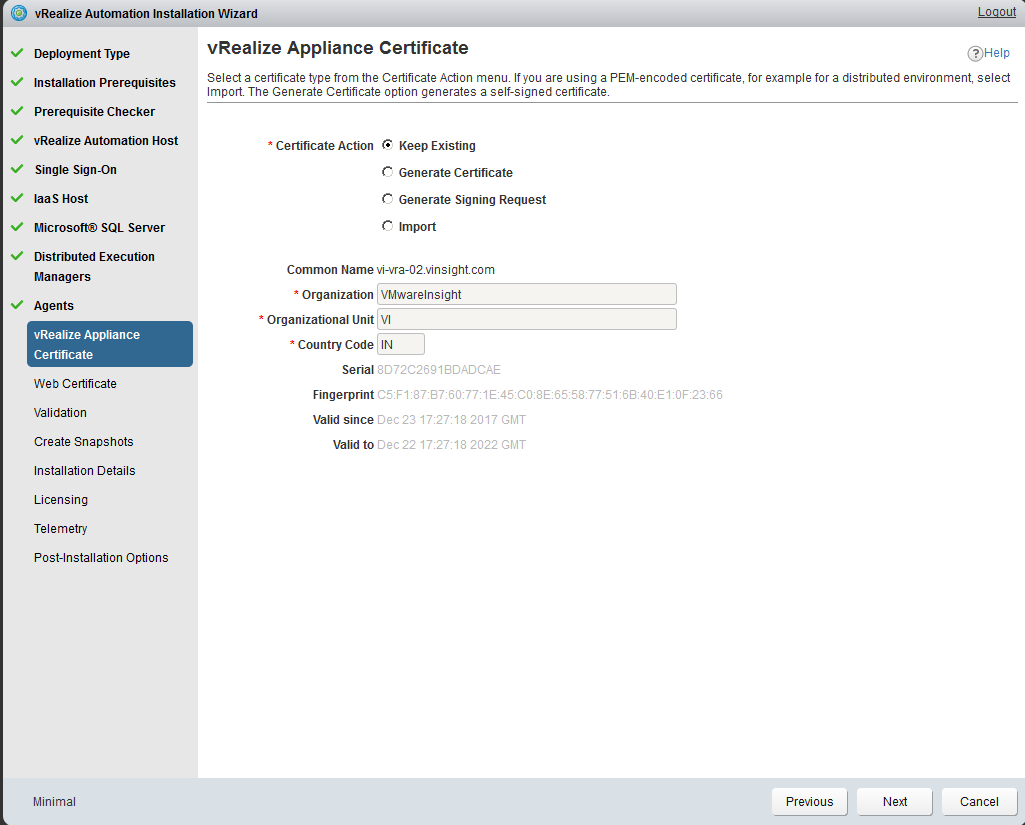
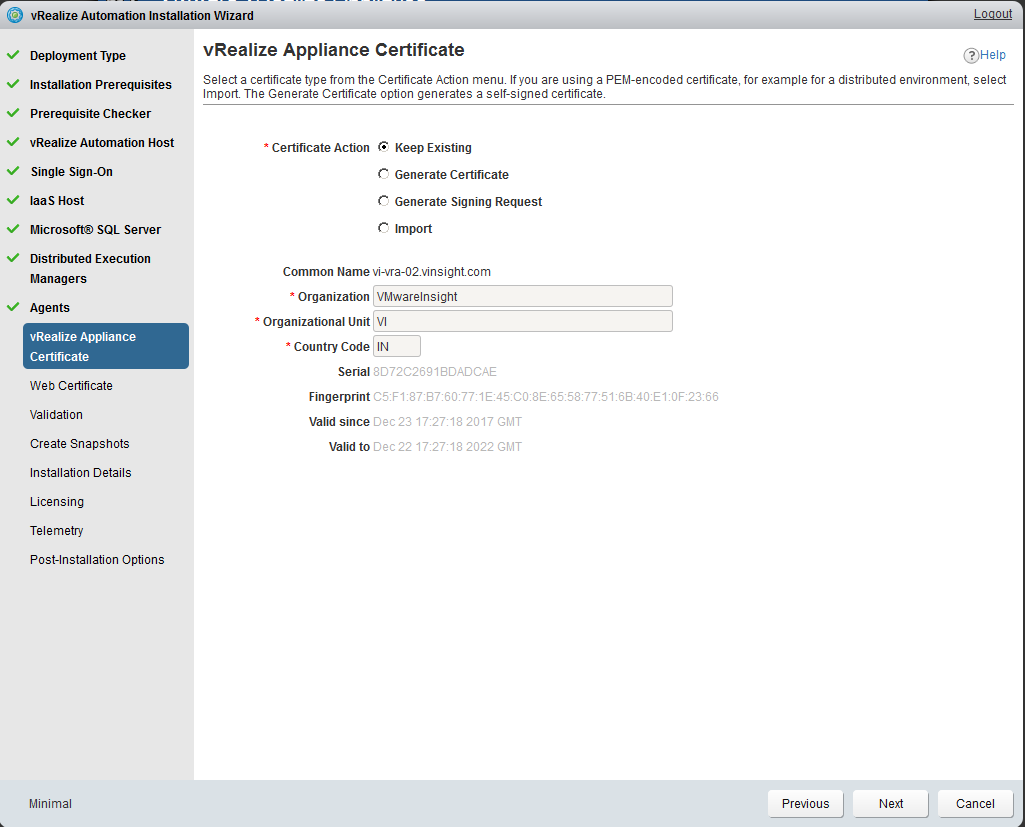
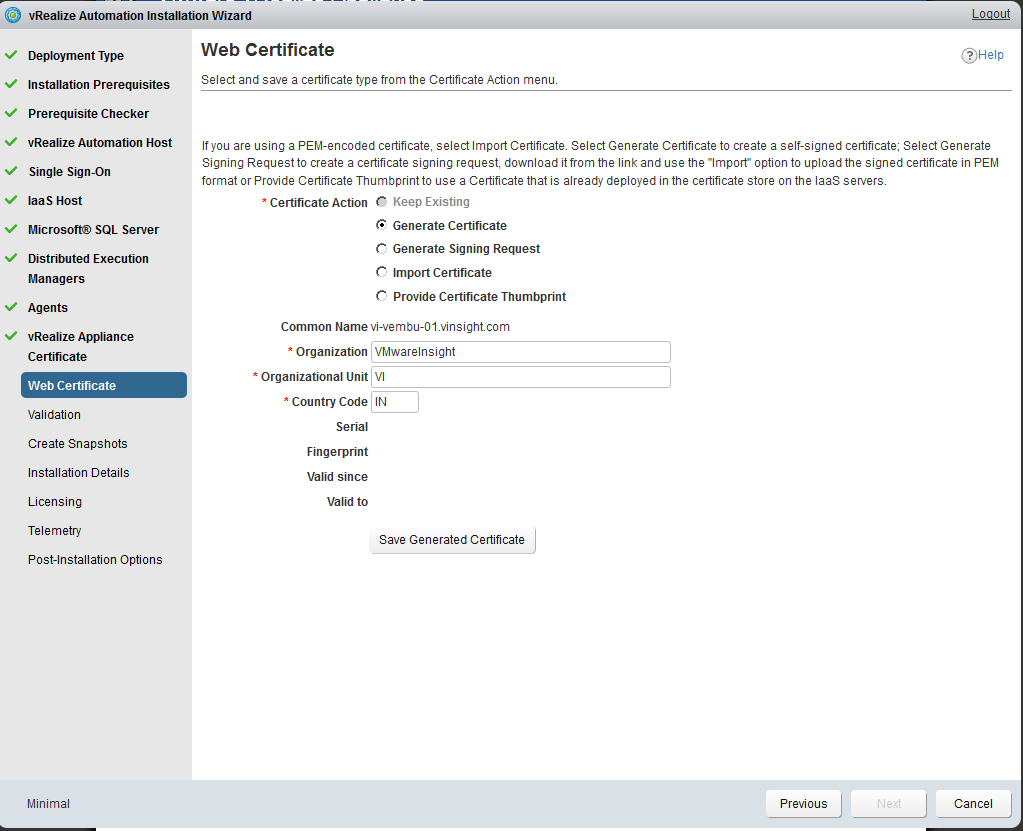
- Generate Certificate for vRealize Appliance. Click Next.
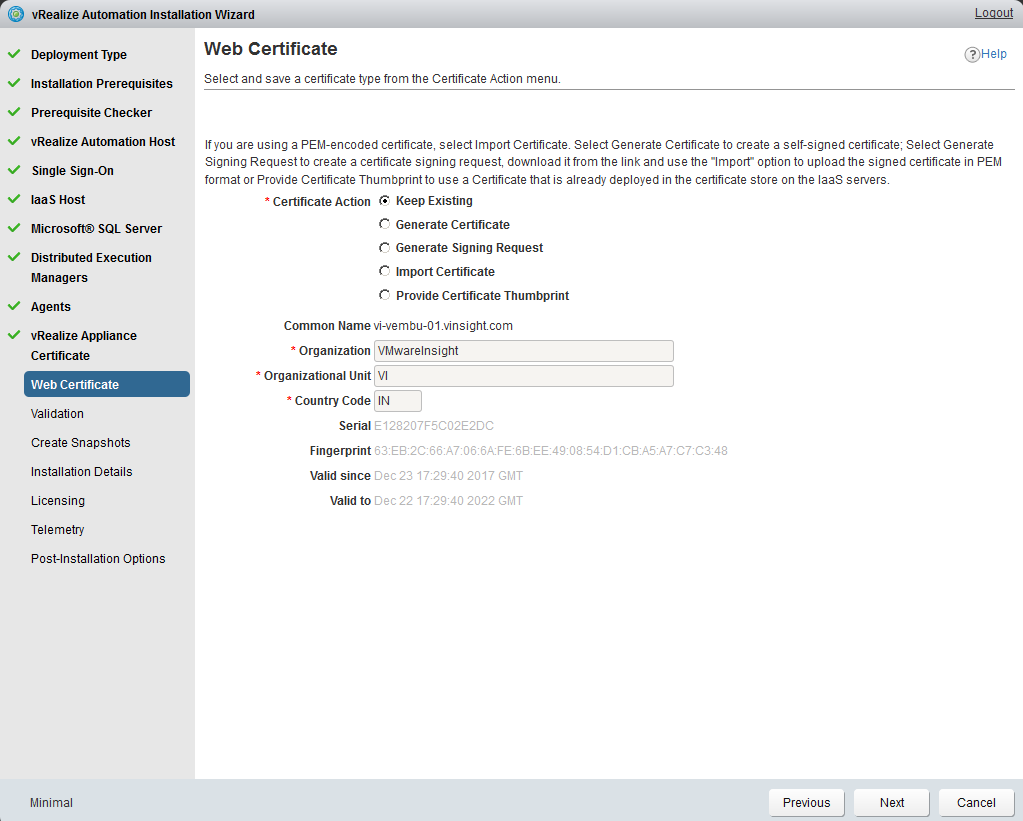
- Generate Web Certificate.
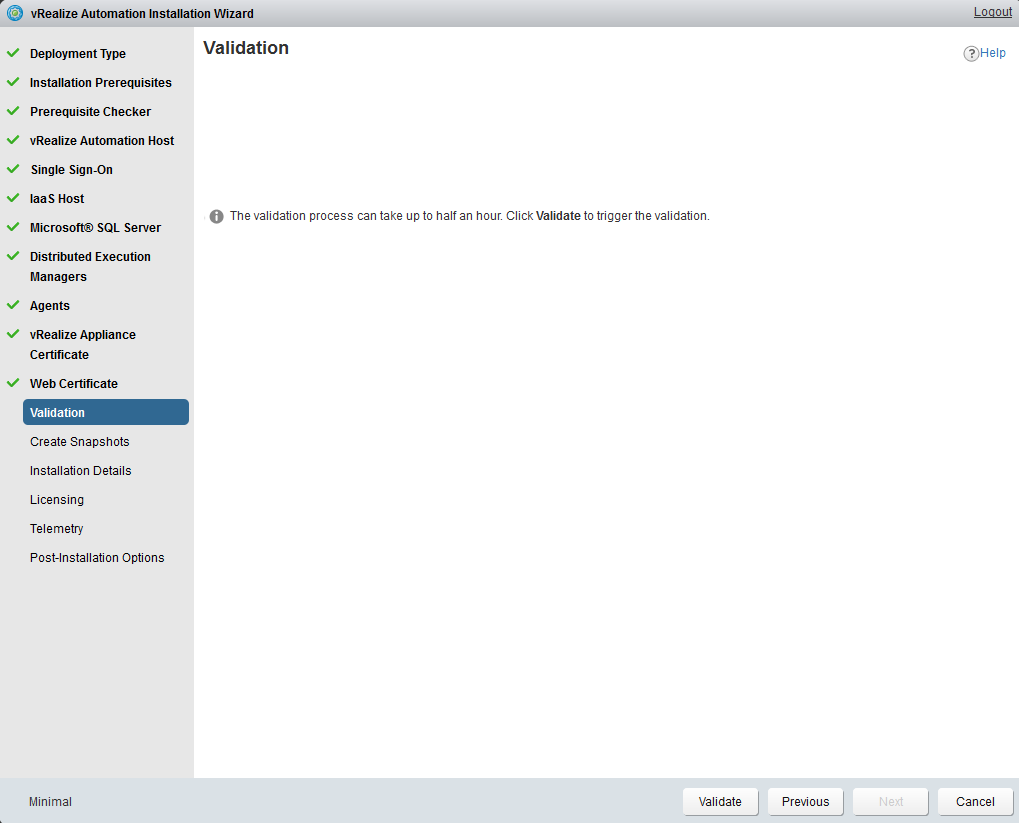
- Click Validate to execute the Validation.
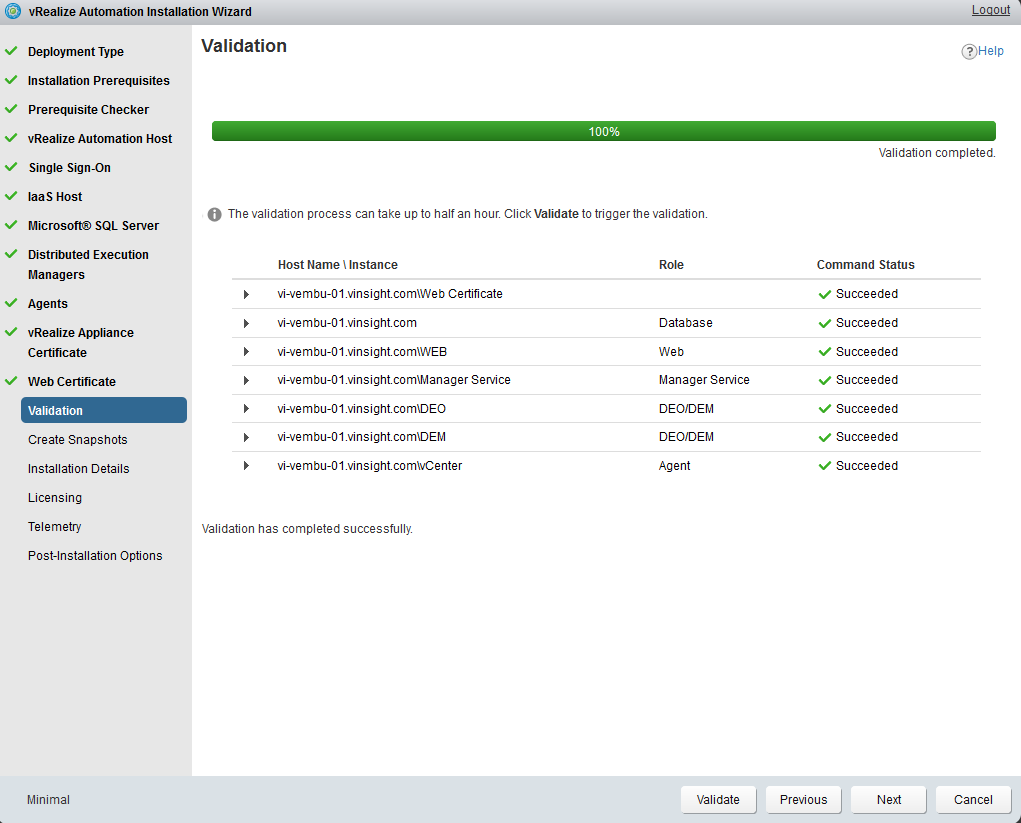
- Validation has been completed.
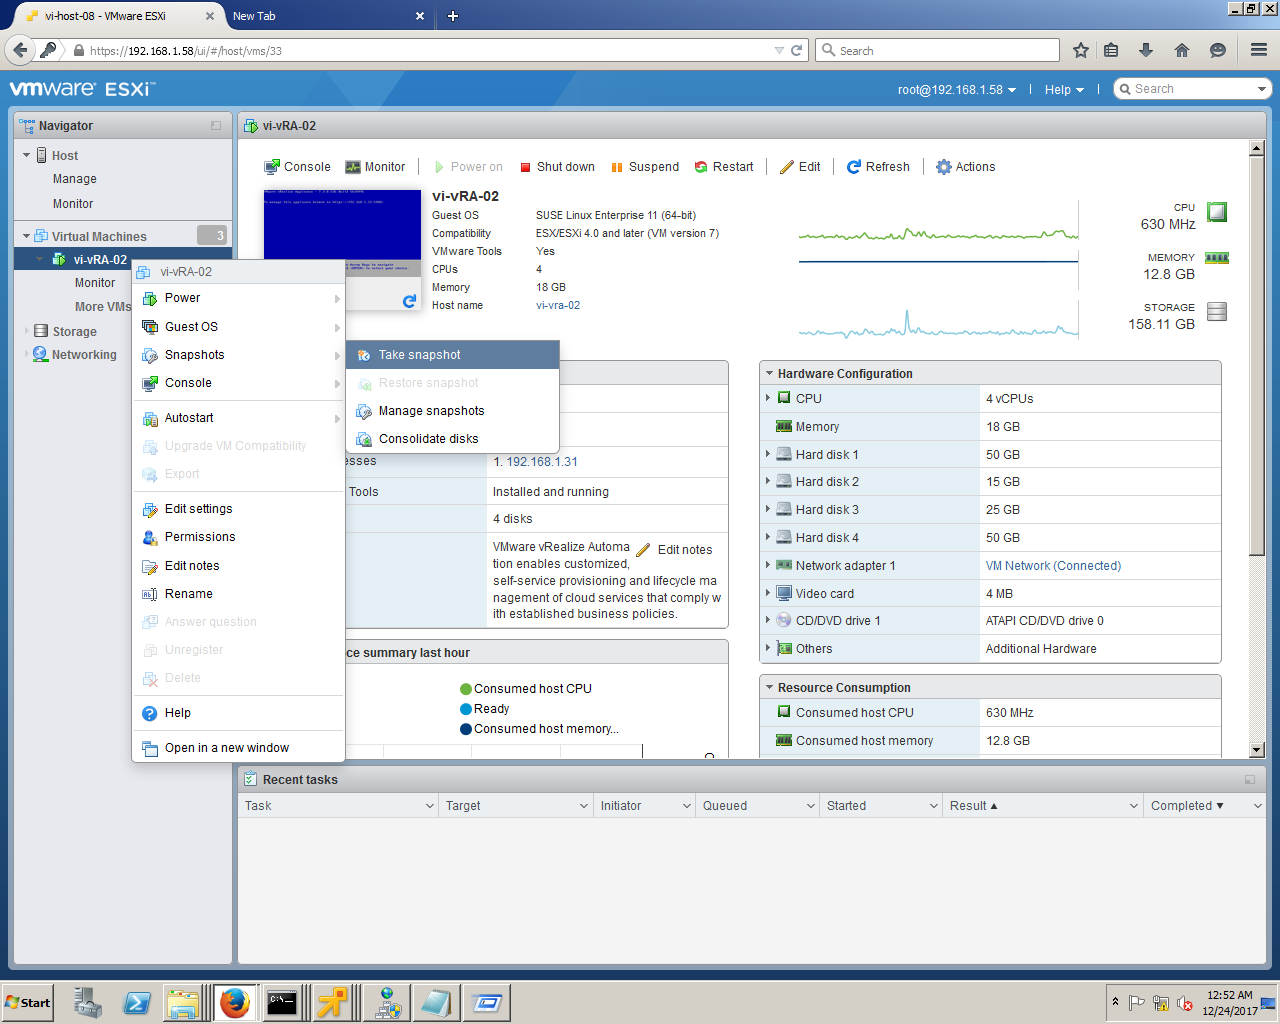
- Take Snapshot so that you can revert in case installation get fail in between of any component.
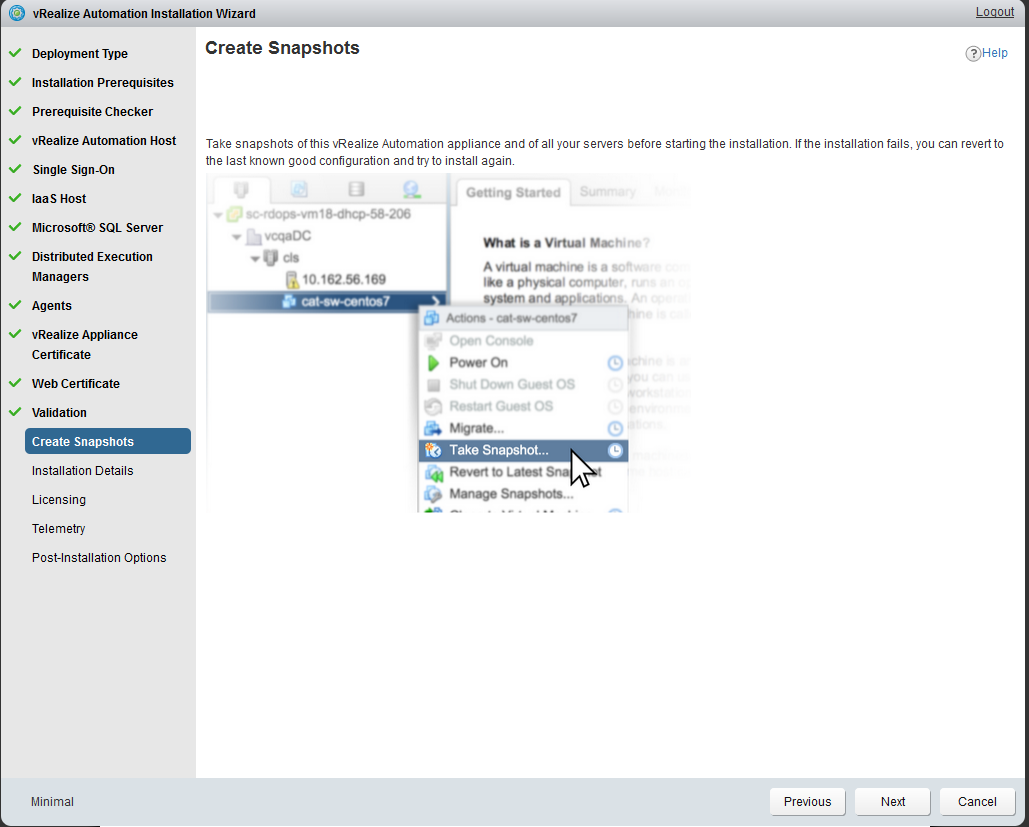
- Right Click on VM and Take Snapshot.
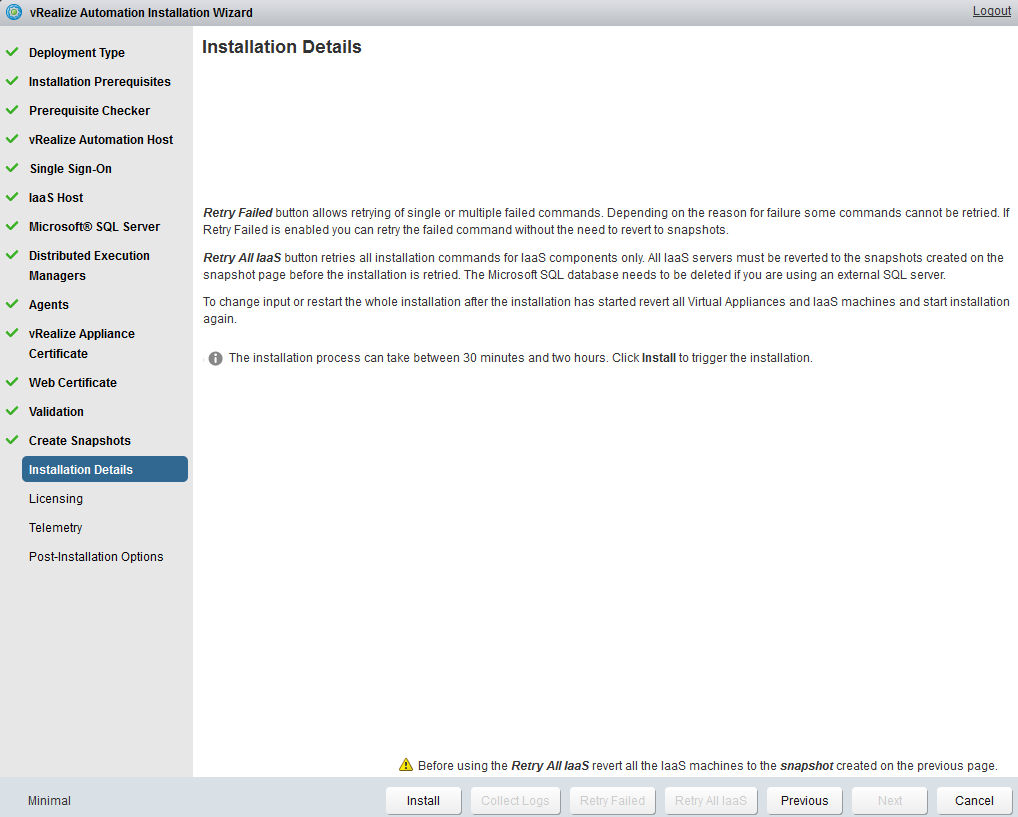
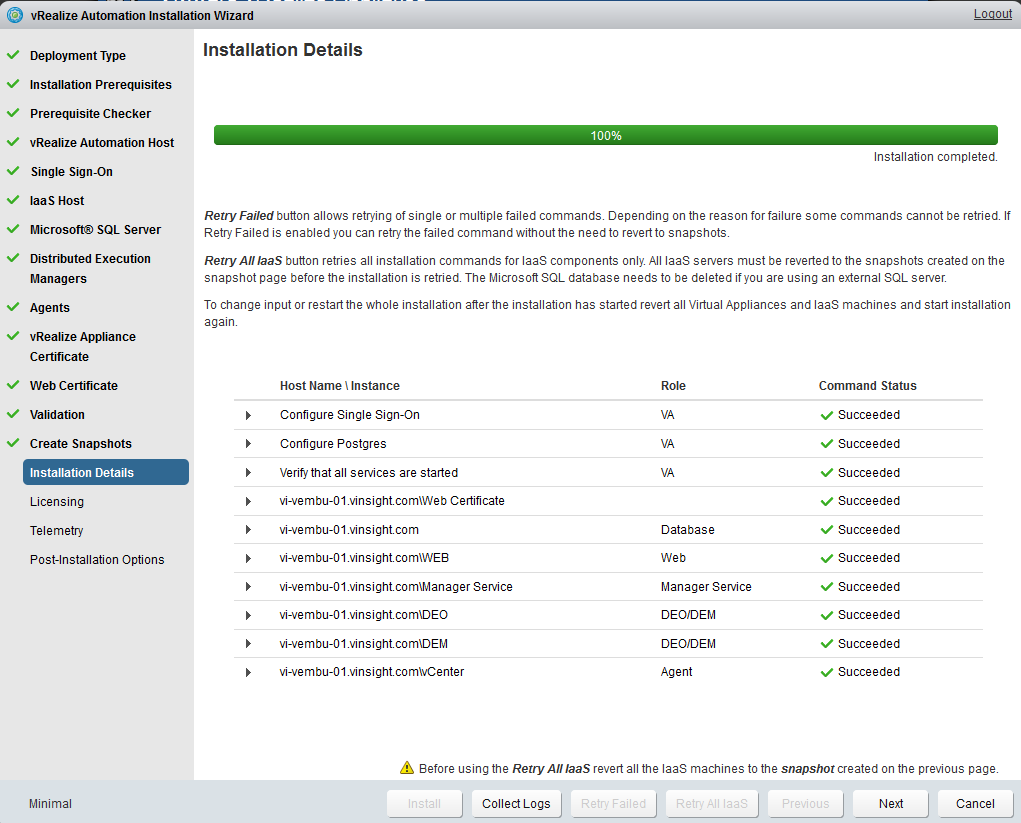
- After completing of Snapshot Process, Click Install to execute the Installation.
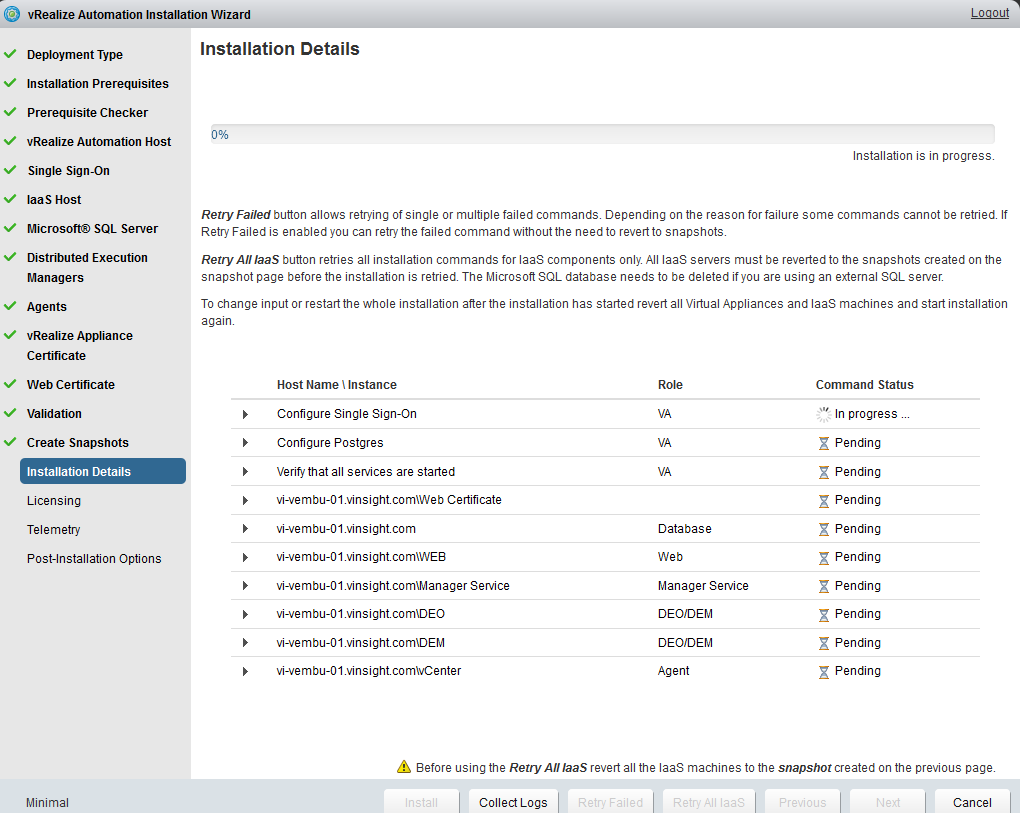
- Installation Process will take longer. Keep monitoring.
- Installation has been completed.
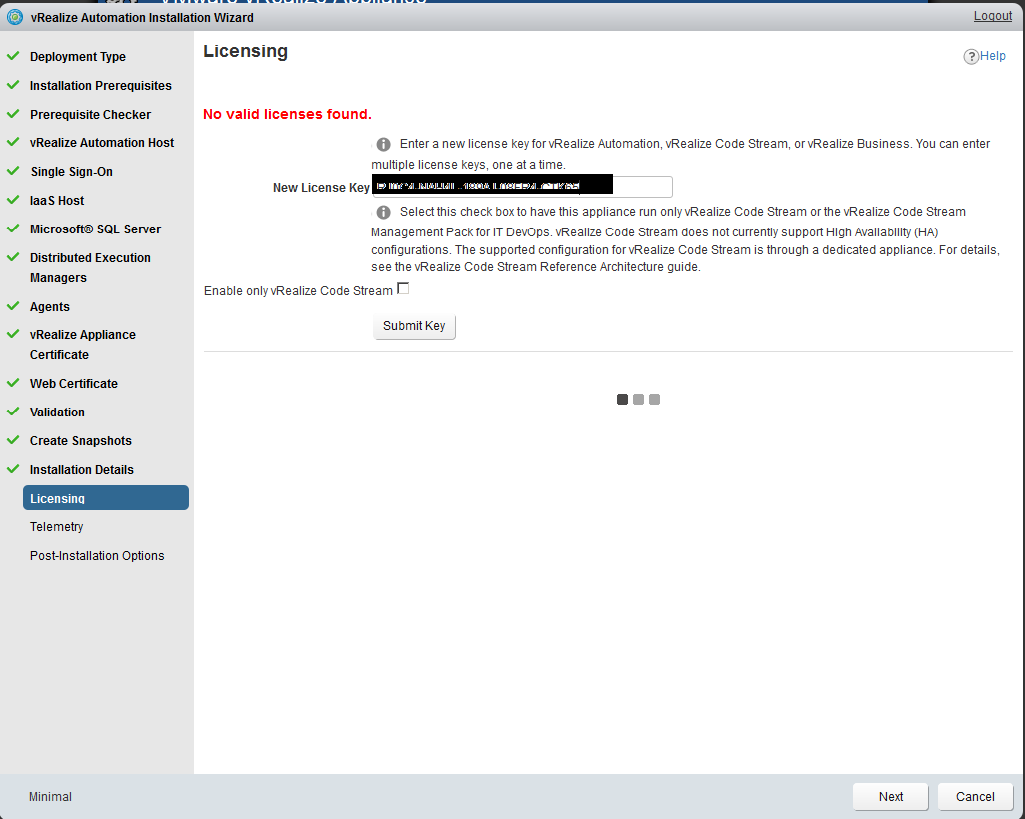
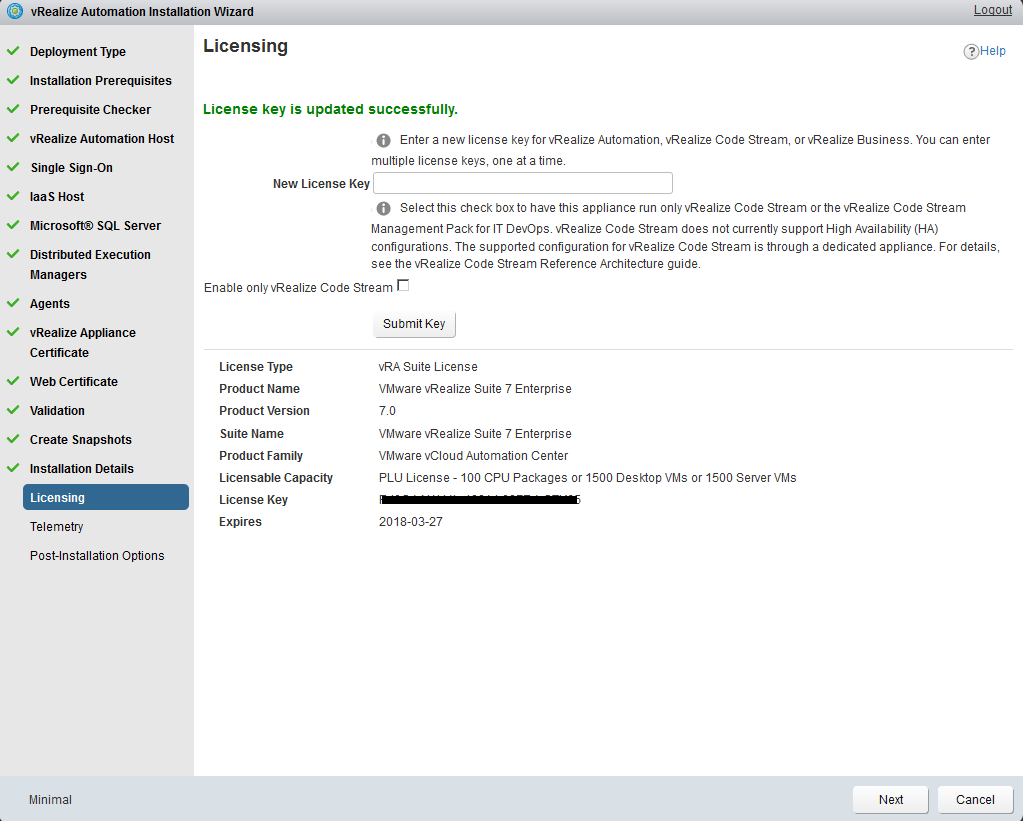
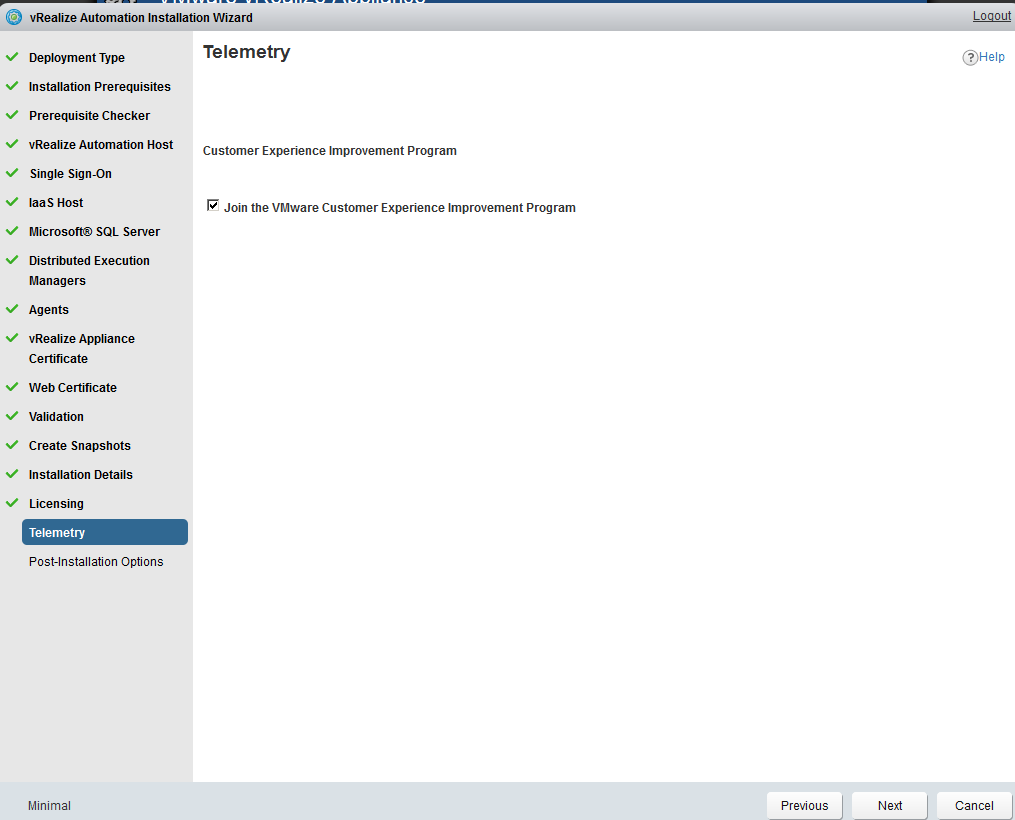
- Join the VMware Customer Experience Improvement Program and Click Next.
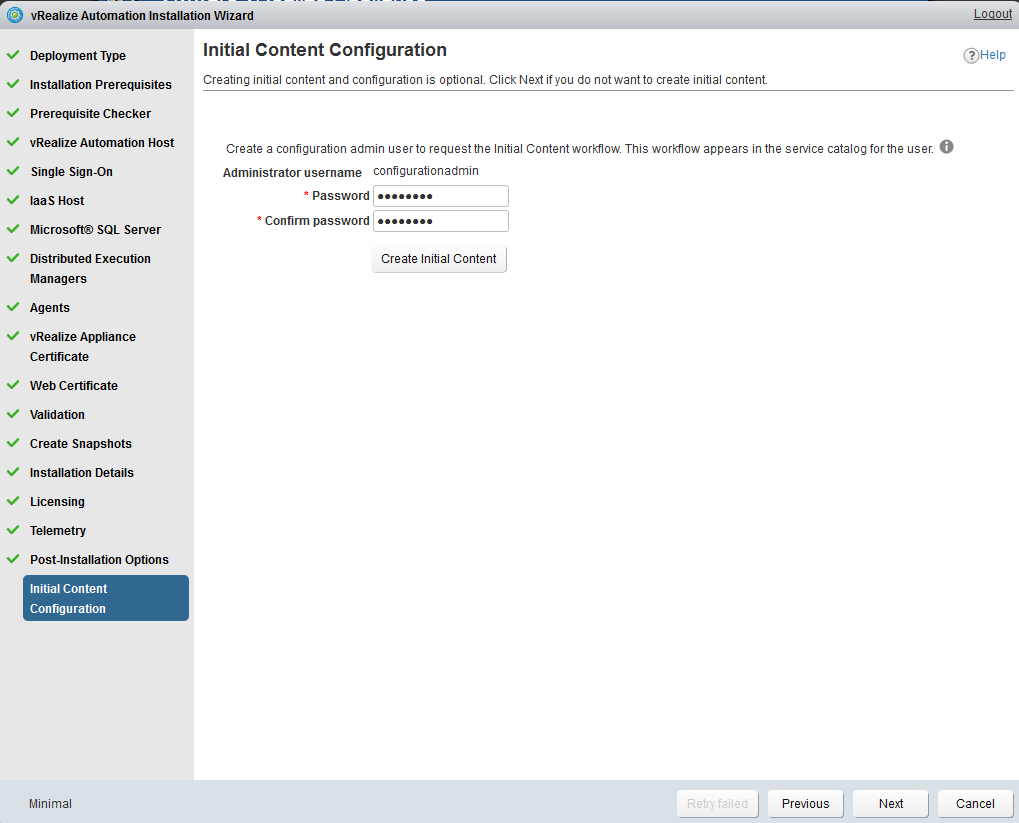
- Configure Initial Content which is Optional.

- Create a configuration admin user to request the initial content workflow.
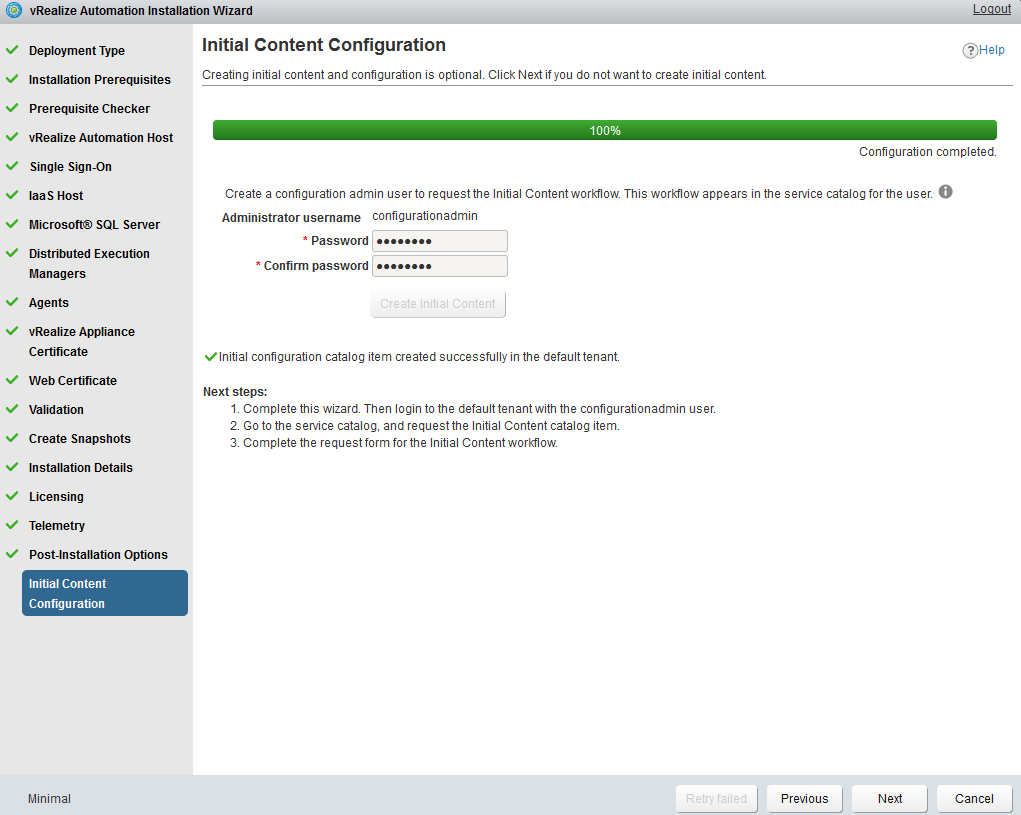
- Configuration has been completed.
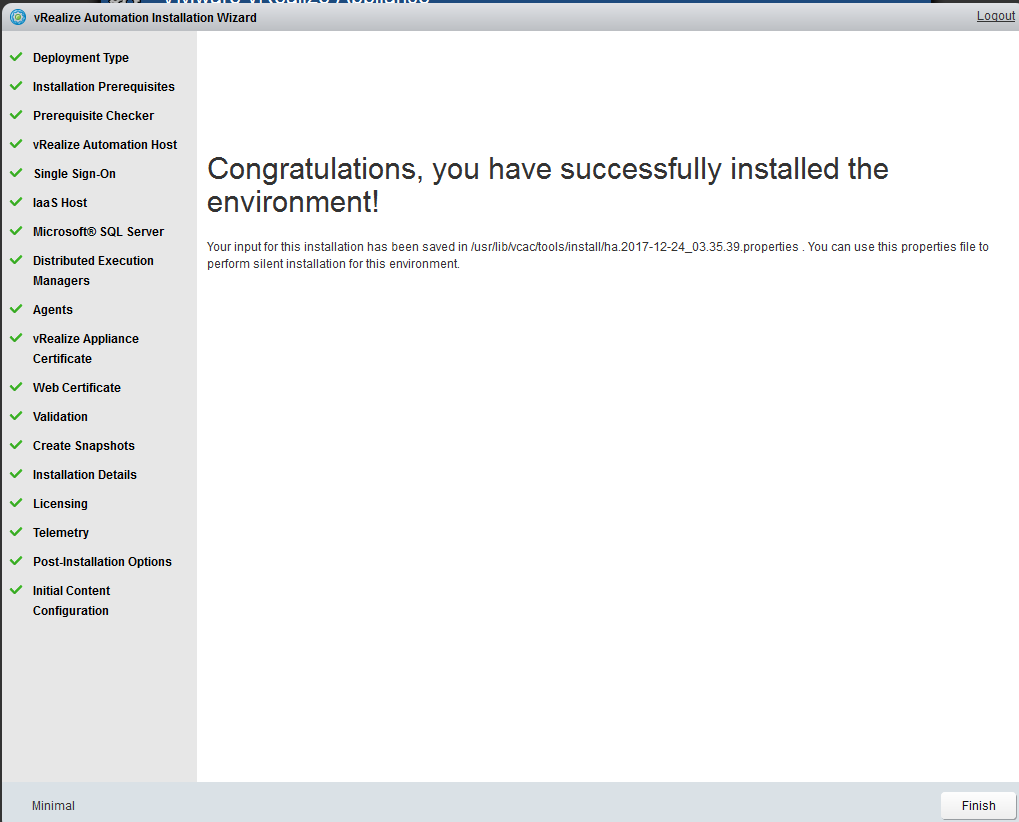
- Installation has been successfully completed.
- Open web console of VMware vRealize Automation Appliance, and Click on vRealize Automation Console.
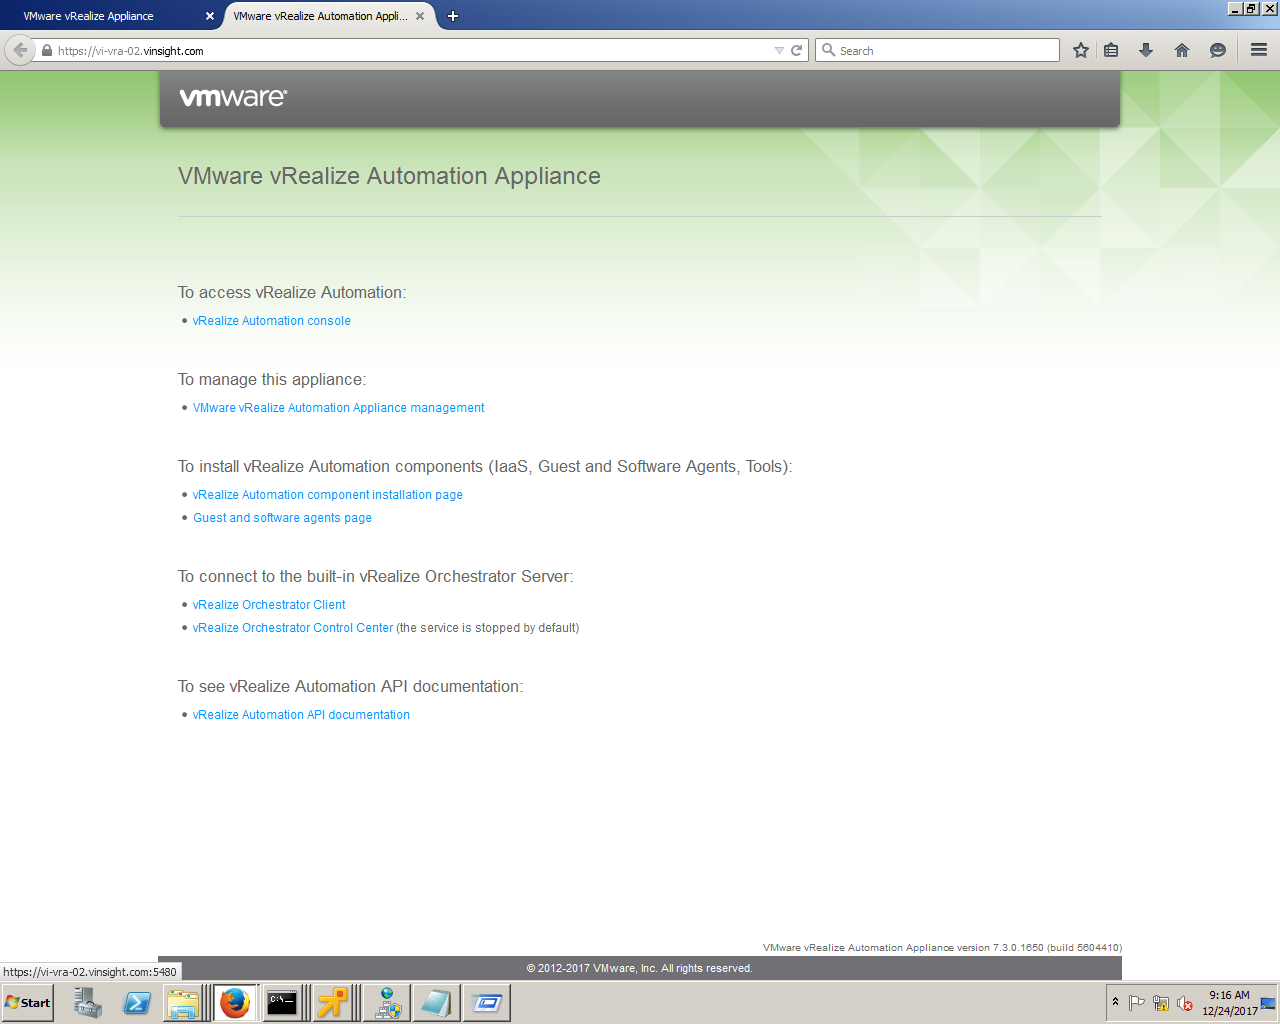
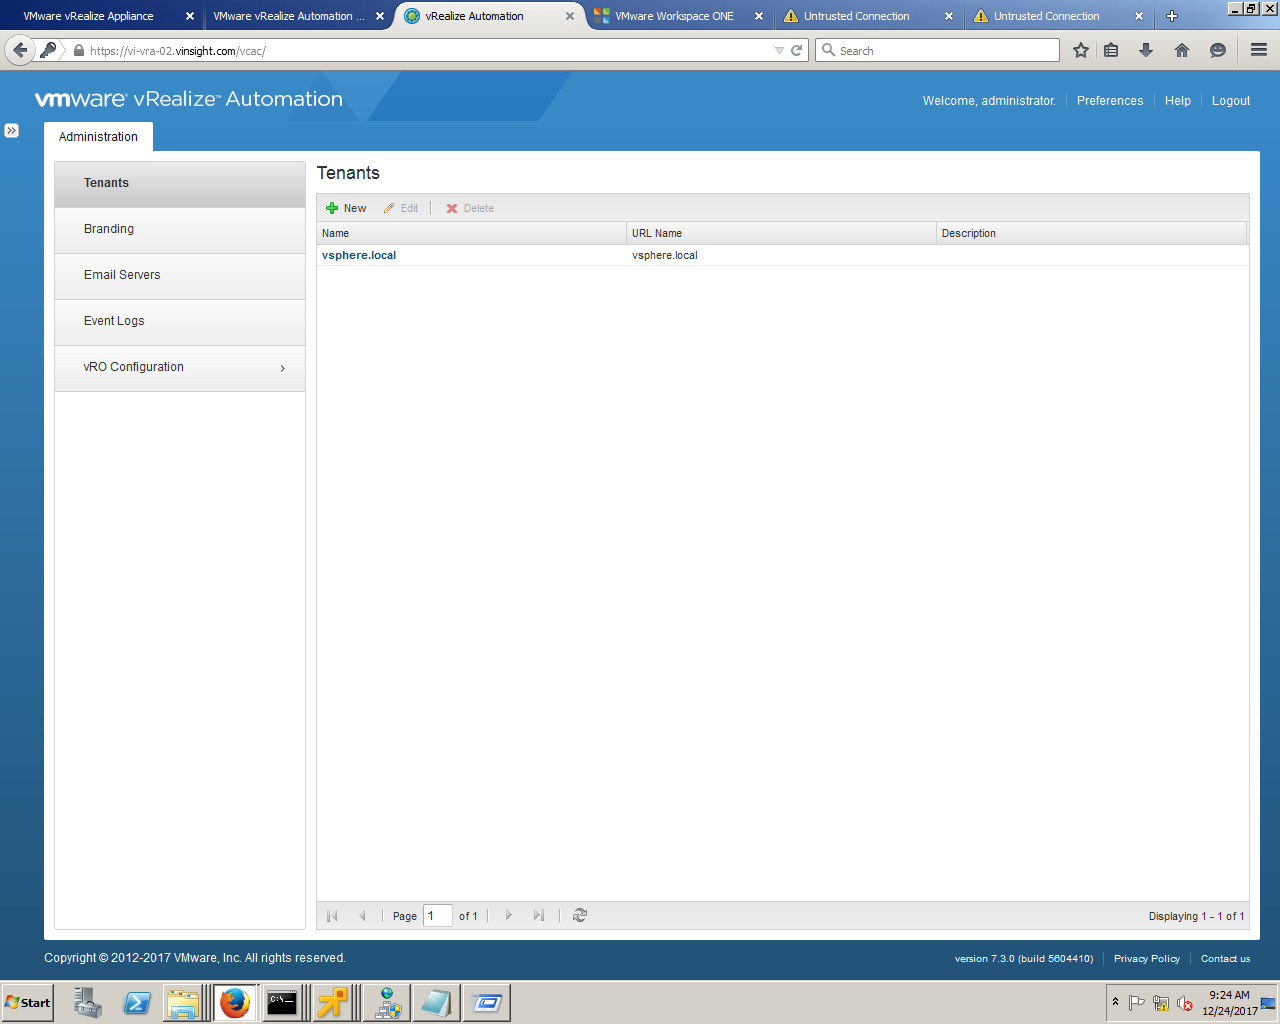
- Here you are on the first console of VMware vRealize Automation Console.

- Login using Credential and you will get this console. Let's explore and keep watching next tutorials to do more on vRA.
Share this on Social Media


About the Author
Thank you for visiting my profile. I am Pranay Jha, bring along a total of 11+ years of extensive experience with me in Information Technology sector for organizations from small business to large enterprises, wherein my current assignment I am associated with IBM as a Technical Solution Architect for Virtualization platform. I am vExpert x 3 (16/17/18), VCIX-DCV, VCAP5/6-DCD, VCAP5-DCA, VCP7-CMA, VCP5/6-DCV, VCA-DCV, VCA-Cloud, VSP, VCE-CIA, MCITP, MCSE, MCSA(Messaging). I am also an Independent blogger and founder of http://vmwareinsight.com and https://cloudpathshala.com. I can be reached via email at pranay1988jha@gmail.com or Direct Message via Contact Us form.